

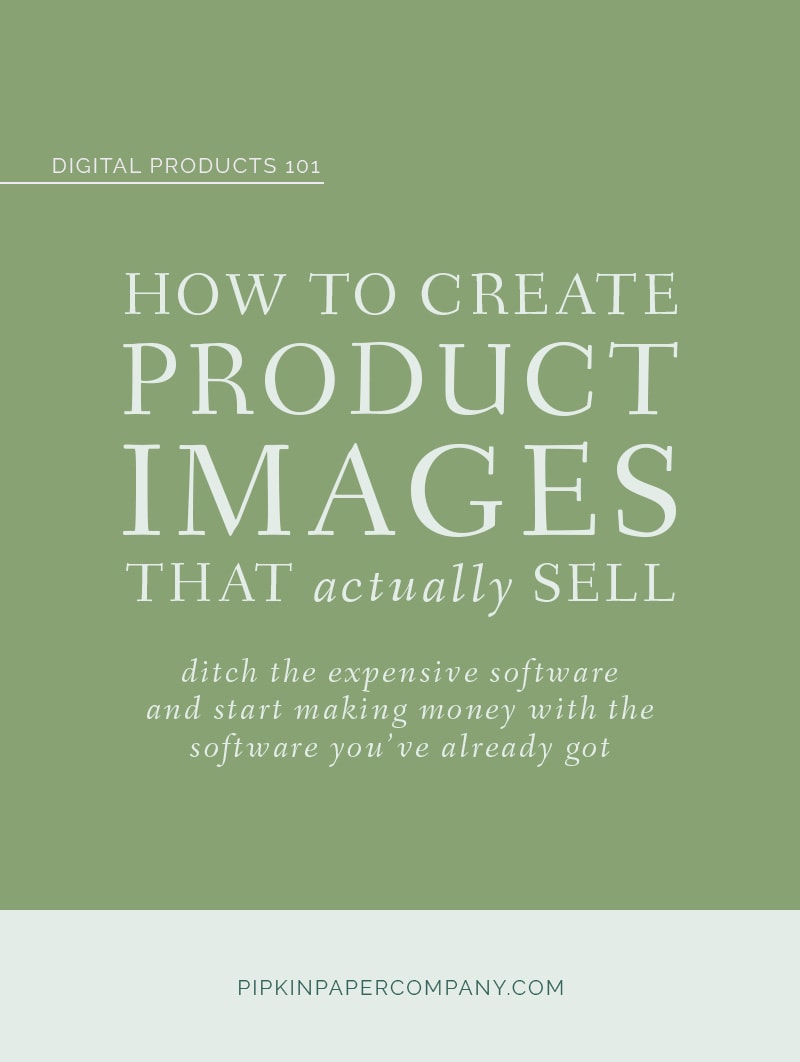
Creating Product Images That Sell (Passive Income 101 Part 3)
Pssst. This post was originally published on my old blog, back when I was designing resumes on the side. Since I’ve quit my corporate job and am now designing and selling digital downloads full time here at Pipkin Paper Company, I thought this post would be a better fit here. This tutorial for creating killer product images with Canva has been updated for 2019.
In case you missed it:
Part 1: How to Make Passive Income
Part 2: How to Make a Template in Word
Creating attractive, eye-catching product images is one of the most important steps in building your online business. Not only is it crucial that you show your products in the best light so you can attract potential customers, but you also need to spend time and energy branding your product images in order to stand out from the competition.
Any experienced Etsy seller will tell you that having killer images makes all the difference between having no sales and having your shop blow up.
Images are that important.
But these are digital templates we’re selling and we don’t actually have a physical product to photograph, so what do we do?
How to Create Product Images
While it’s possible to print your templates and photograph them like you would any other physical product, creating a digital mock up is, in my opinion, a million times easier. Digital mockups require some experience with photo editing software, but they’re much better in the long run because you can simply copy and paste your template into them over and over again.
Now in full disclosure, I create my product images using Photoshop and I have been known to buy fancy background images, textures, and props from places like Creative Market to make my pictures pop. But I’m going to show you how to do this using free software like Canva so you don’t have to invest in fancy backdrops or digital elements.
I do recommend, though, that once you start making a little money from digital designs, you upgrade your photos.
Creating Digital Mockups
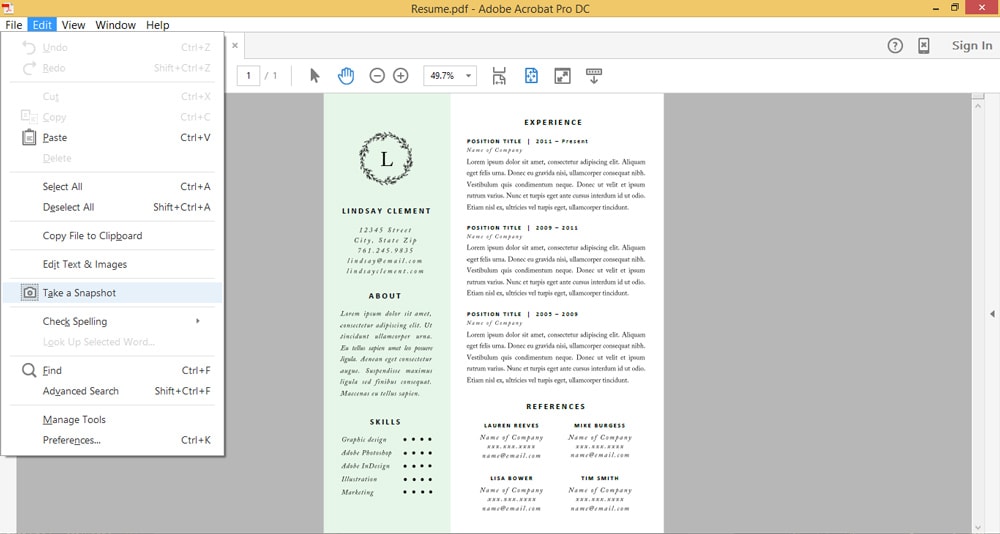
Create a PDF and take a snapshot
Open your template in Word and go to File > Save As. Under the Save As Type drop down select PDF.
Next, open your PDF and zoom out until the you can see the full page on the screen.
Click Edit > Take a Snapshot. Click the cursor anywhere in the gray area surrounding the document and you should see a “flash” as if you just took a picture, this will save a copy of the document to your clipboard.
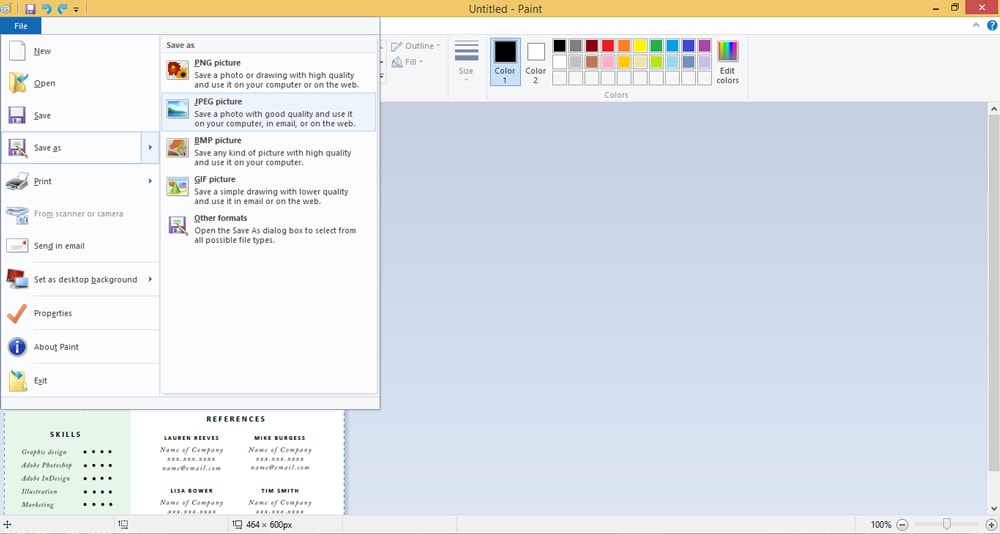
Save as a JPG
Open Paint. Use CTRL+V to paste your screen shot into a new document. Then click Save As and save the image as a JPG.
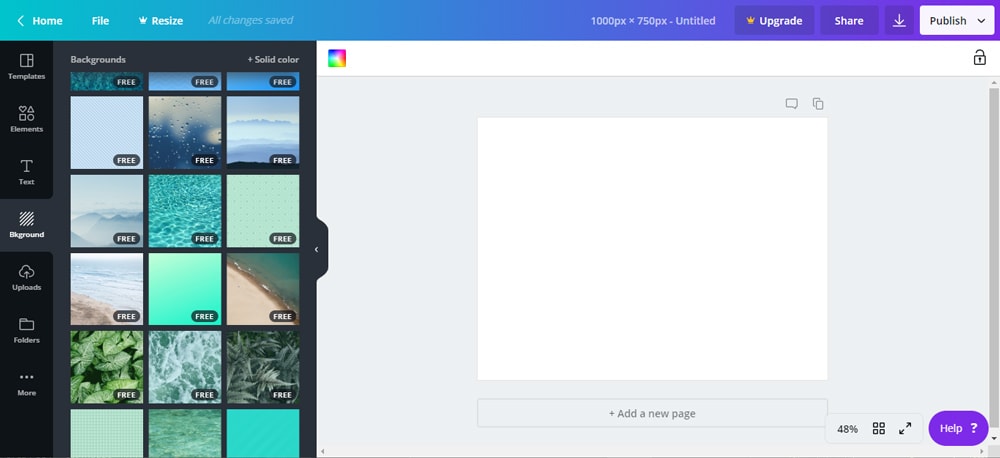
Creat a background in Canva
Go to Canva. If you don’t already have an account create one (it’s free!)
Click where it says Create a Design
Click Custom Dimensions > type 1000 x 750 pxin the fields > Create New Design
An empty work space will open. Click the tab on the left labeled Bkground and select a background that speaks to you — some cost $1 but there are some free options as well.
You are allowed to play around with the paid images to see if you like them before plunking down your credit card. When you find a background image you like, click it and it should appear in your workspace. –
Upload your template image
Next click Uploads > Upload An Image and select your template JPG from your computer.
Your template will appear on the left hand side of the screen. Click on it and it will show up in the workspace. Resize the image until it fits.
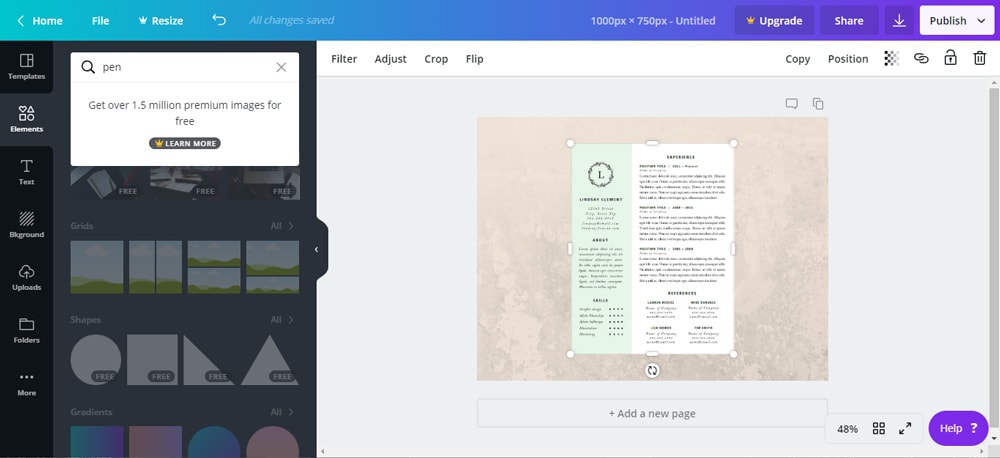
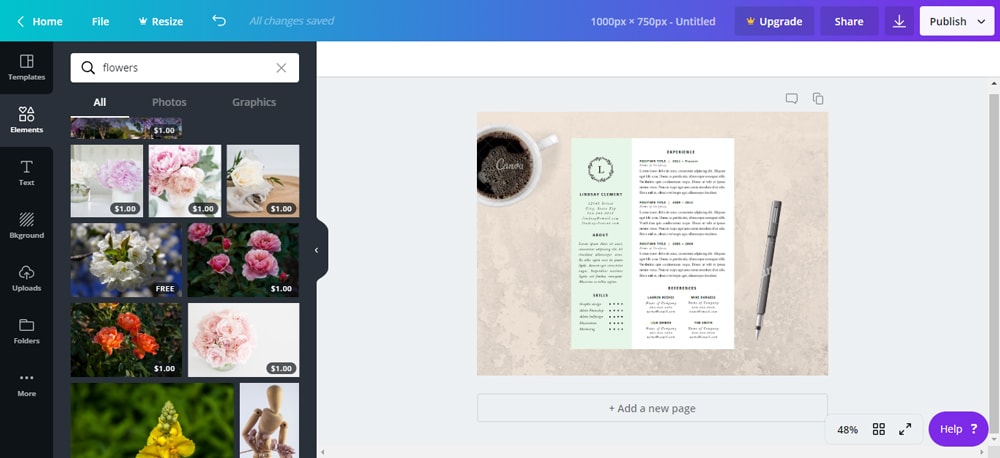
Add some accessories
Click Elements and type the word “Pen” in the search field. Select an image and resize it so that it fits the scale of your template. Add as many accessories as you like.
Create a drop shadow
A drop shadow adds depth to your mockup and makes the template look more realistic. It’s also a great way to make your product images pop and look professional.
- Make a copy of the resume image (or whatever image you want to apply the drop shadow to) by clicking on it, then selecting Copy. Move the image that’s on top a little out of the way so you can edit the image underneath.
- With the image underneath selected, click Adjust. Lower the brightness and contrast all the way using the slider.
- Next, lower the transparency (on the right side of the toolbar) to about 20%.
- Bring back the original resume image and place it so that the shadow is slightly off center behind it. (See how mine is just barely visible to the right and bottom of my template?)
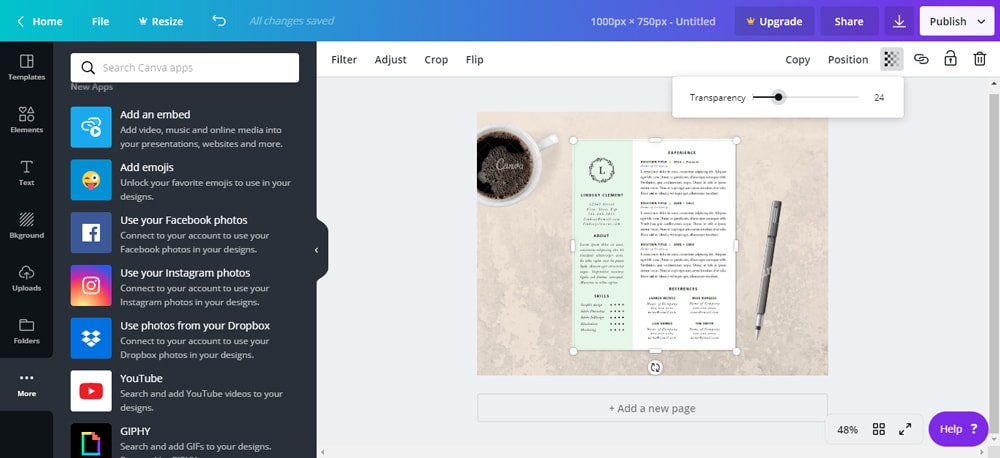
(Psst: your shadow should be subtle. Don’t make it too bold or you run the risk of it looking pretty cheesy).
Add a call to action or benefits bubble
Anything that might stand out to your customer or entice them to click on your listing should go in a text bubble.
Click Elements > Shapes and select a circle. Once it’s in your workspace, move it around to find a good spot for it. Then click and drag a corner until you get the desired size. You can also change the color and transparency, if you like.
Click Text and choose a font pairing and layout that you like. Drag the text box so that it’s centered inside the circle, then double click on the text to add your message.

Download your product images
Click Download (it’s a downward arrow) > PNG > Download. If you’re using any paid elements, it will ask you to input your credit card information. Otherwise, it will download the image to your downloads folder.
From here on out you can simply update this image by opening the file in Paint, then opening a JPG of the new template simultaneously. Copy and paste the new image over the old image, adjust it so it perfectly covers it and save as new.
So that’s how to create killer product images for your listings.
* * * * *
Like I said before, it’s really important that you spend time thinking of ways to make your templates stand out. Look at other listings on Etsy and see what those sellers are doing, then do the opposite. Even if it’s just a little different, it’ll do wonders for your sales and help your shop take off.
The information contained on this Website and the resources available for download through this website are for educational and informational purposes only. I am only sharing what worked for me, and as such, I cannot guarantee that any products or processes will give you the same results.


1 Comment
Leave your reply.