

How to Make Wedding Invitations
Fun fact: Pipkin Paper Co. got its start because of expensive wedding invitations. When my husband and I were planning our wedding reception, I longingly poured over those beautiful custom invitations you see online. But even though we didn’t have a ton of guests coming, it was still too expensive to buy the invitations we really wanted, so I decided to make them myself (after spending hours and hours on Google). And today I’m going to show you how to make wedding invitations for your own shindig, too.
Let’s get one thing out there: I know Google can be a ca-ray-zy maker when it comes to DIY wedding invitations. There’s so much advice out there, between what paper to use and how to print them that it’s hard to know where to start.
So why should you trust me?
Well, for one, I’ve been printing wedding invitations professionally for the past 5 years from my studio. I’m not a big company and I don’t have the fanciest printers or a big staff. That means I’ve been making invites myself by hand that entire time.
Second, I made my own wedding invitations without knowing the first thing about paper. Or printing. Or supplies. I Googled all the answers myself so I know exactly what you need to know—and what you don’t—when learning how to make wedding invitations
Here’s what I wish I knew when starting out.
How to Make Wedding Invitations on a Budget
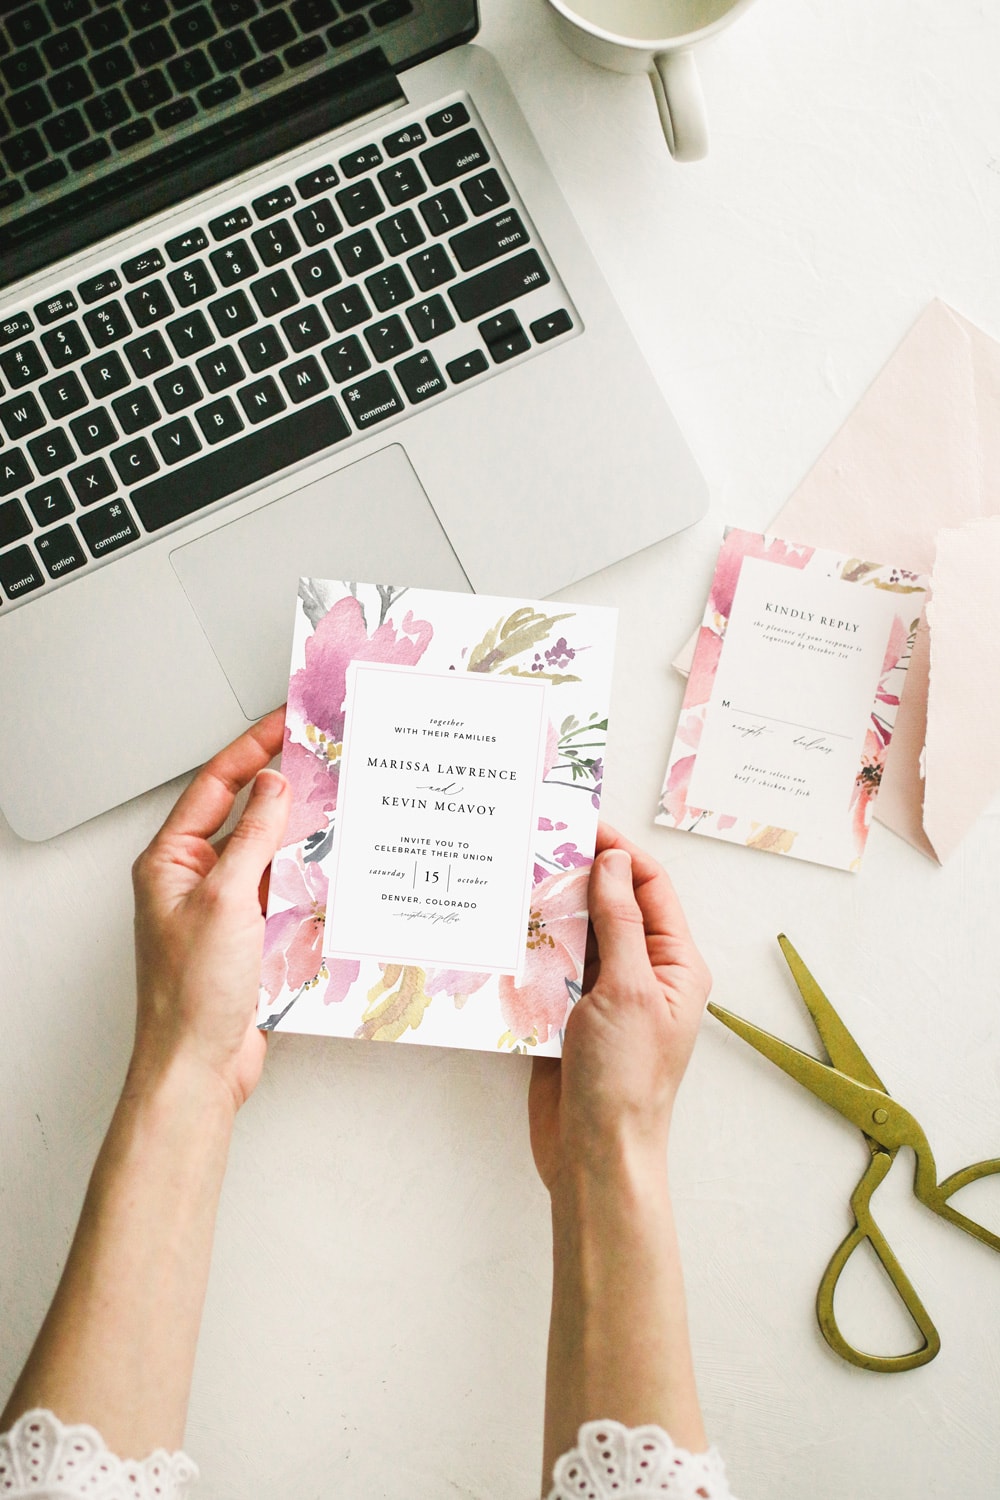
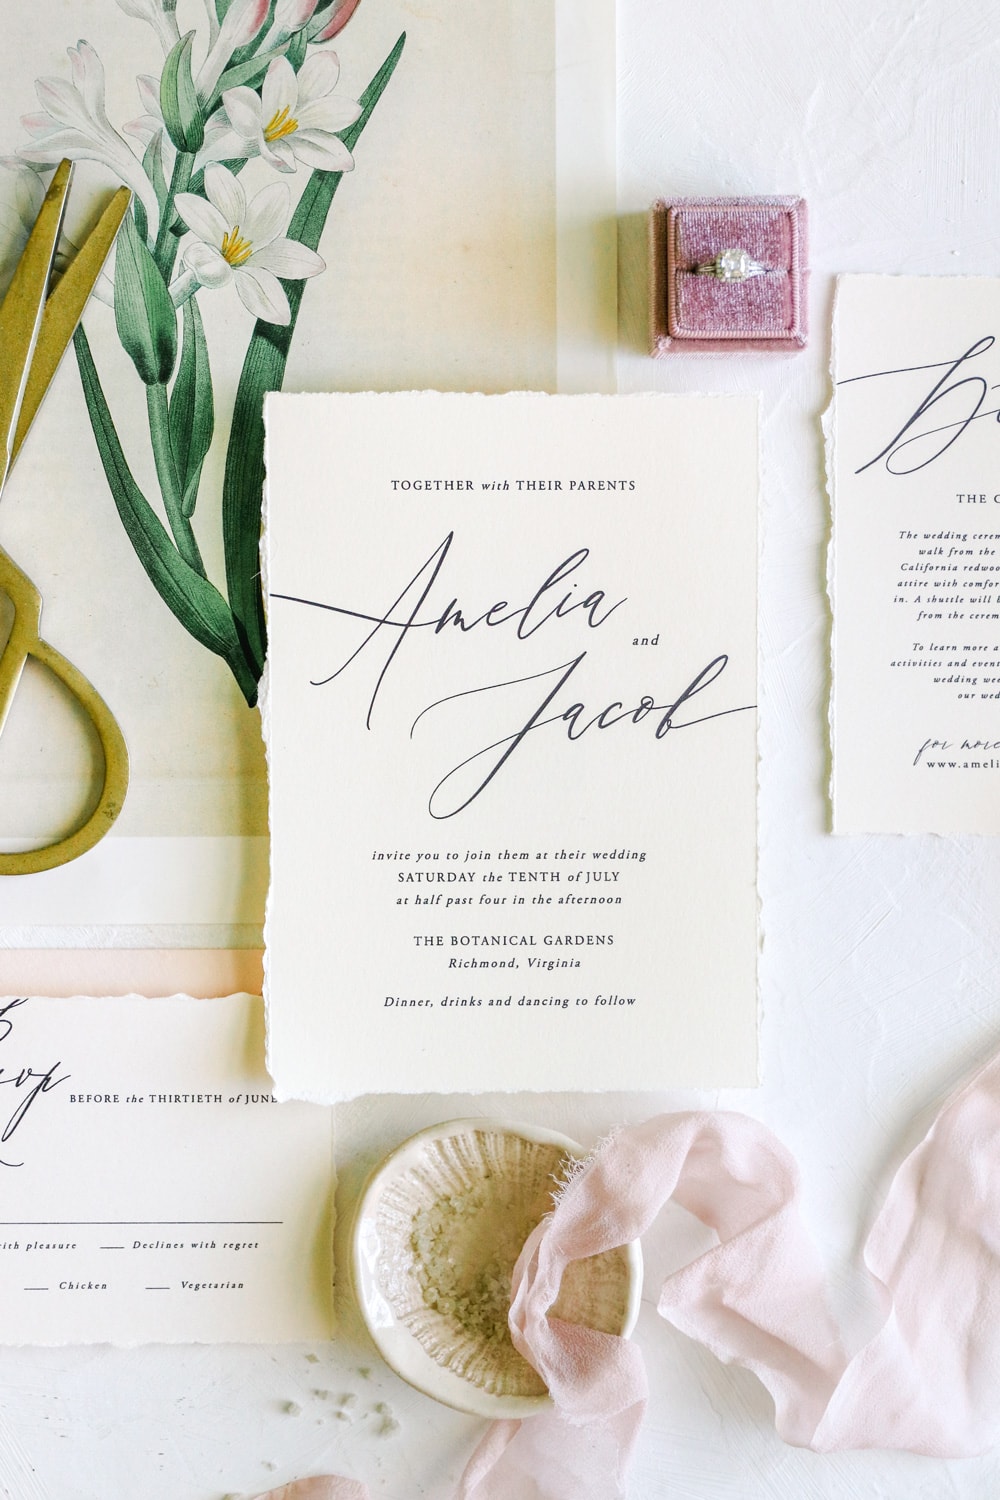
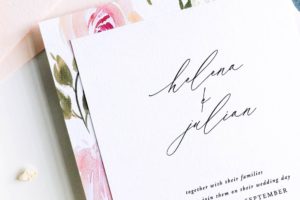
1 | Design Your Invitations Yourself or Purchase a Template (Cost: $0 – $15)
I designed my invites myself over the course of a week in Adobe Photoshop. Nowadays I would recommend using Canva or Adobe Illustrator for better quality.
If you don’t consider yourself a designer or you simply have zero interest in making your own, you can purchase a template.
Here are some tips on choosing a design:
- Aim to spend $10-$20 for a template suite. You can find pretty designs on Etsy, Creative Market, even stock photography websites, that will run you about $5 to $20. No matter what you choose, I recommend looking for a shop where they look like they know what they’re doing. If you have questions or need advice, it helps if the owner has actually printed their designs.
- Choose a template with just 2-3 colors. A design that’s not too ink-heavy will be cheaper to print. Things like a colored background or huge watercolor flowers are going to burn more ink than if you choose a design with a couple colors.
- To add color, use colored cardstock. If you really want to incorporate your wedding colors into your invites, print a black-and-white design on colored card stock or back your invitations with a pretty patterned paper.
–
2 | Design Your Own Inserts (Cost: $0)
While this might fall under the “Design Your Own Invitations” category, I actually think it deserves a bullet all its own.
You may not feel comfortable designing your invitations, which is completely understandable! But the inserts (ie. details and directions cards, reception information and registry cards) don’t require a fancy design. Just open a Word document or Canva and use a font from your invitations to create a coordinating insert card.
Or to save even more money, forgo the inserts altogether and send everyone to your wedding website for the details. You really don’t need registry cards or a separate insert for the reception information when you can just have it on your wedding website.
3 | Purchase Cardstock Kits (Cost: $20 – $40)
You’ve probably heard us talk about cardstock before. We’re huge fans of the expensive, 100% cotton cardstock that looks like linen and weighs about a pound (okay we’re exaggerating, but still!), but that’ll run you a teensy bit more.
Instead, you can pick up a few of those cardstock invitation kits they have online at most craft store. They should come with roughly 50 pre-cut cards and envelopes for about $20 a pop.
Hooray! You have just scored your invitations, RSVPs and envelopes for about $40.
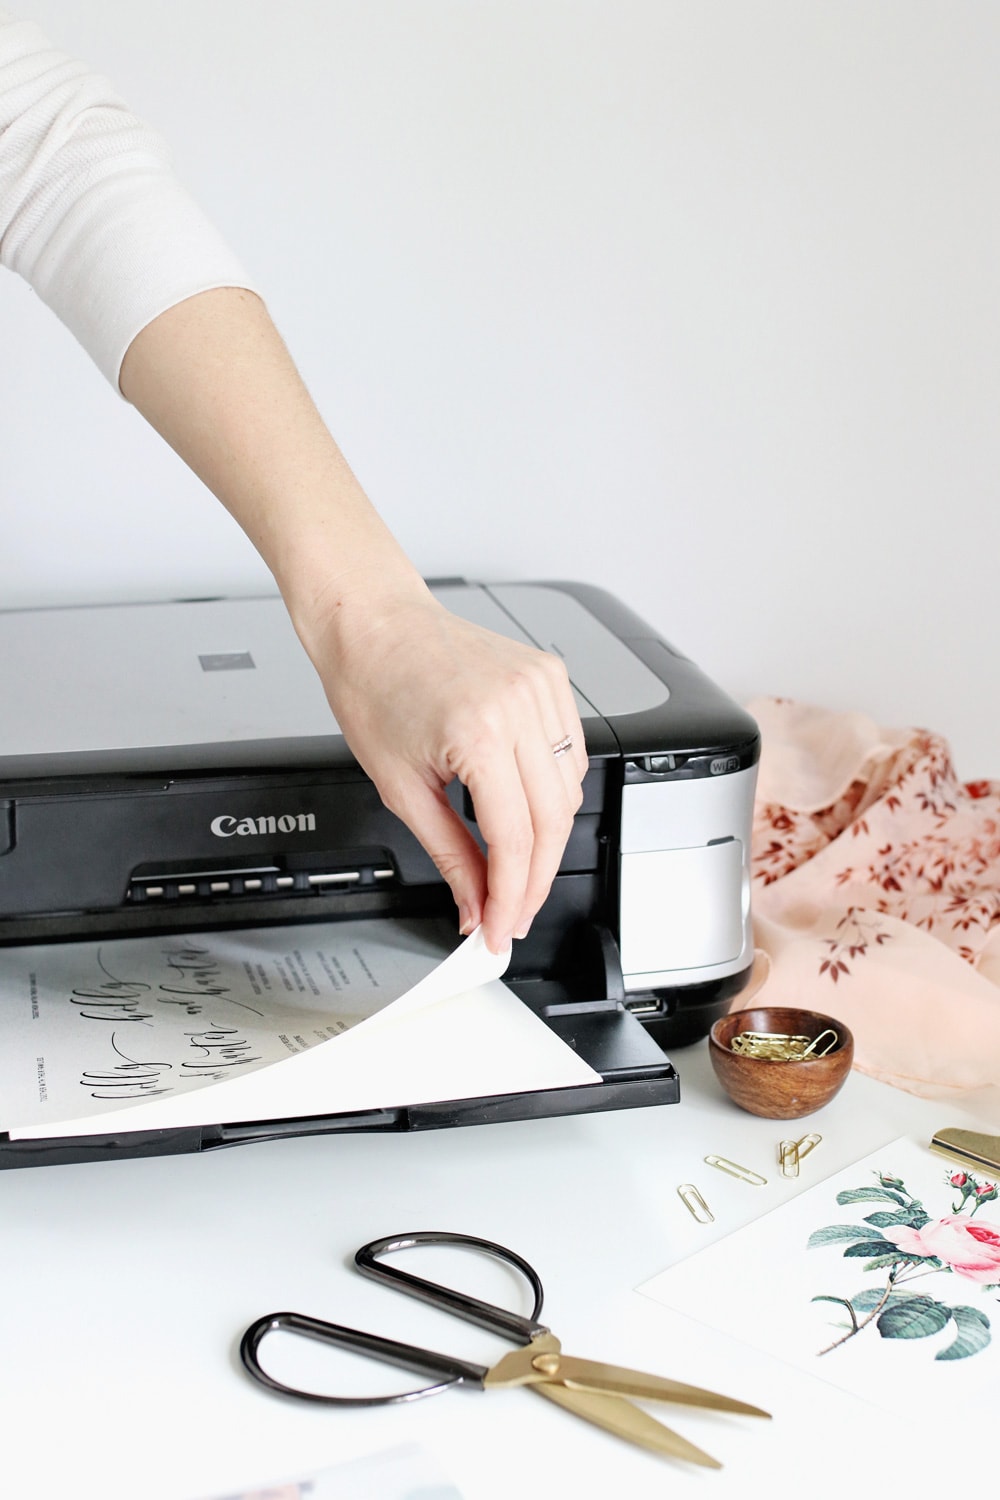
4 | Buy Ink in Bulk (Cost $20 – $30)
For the best quality, you’ll want to print on “photograph” or “high” setting. And that can be pricey. Try looking at Sam’s Club, Costco or Amazon for bulk ink packs that work with your printer.
I recommend buying at least one new set of ink to have as a backup. If your invitations are ink guzzlers instead of sippers, buy two.
5 | Plan Ahead for Things to Go Wrong
Here’s the one exception to our less-is-more rule: planning for emergencies. It’s worth it to spend a little extra up front if it means you don’t have to worry about buying more later (at full price).
My rule of thumb is to always err on the larger side if you might be cutting it close. Factor in a buffer because things will go wrong.
So, this might mean buying the pack of 75 invitations instead of 50 or purchasing the three pack of ink instead of two singles if you’re unsure. While you might not need it, you’re bound to hit some bumps in the road somewhere and it’s nice to be prepared without having to go back and buy another complete set at full price.
Looking for envelopes? Here’s where to buy envelopes in every style, color and budget.
How I Printed My Invitations for $60
So in case you’re wondering how I printed my reception invitations for less than $60, here’s the breakdown:
- Created a simple text-based invitation in Word: $0
- Bought 100 pre-cut cards and envelopes from Michael’s on sale: $22
- Bought two rounds of black photo ink from Amazon: $24
- Sent everyone to our wedding website for details and RSVP: $0
–
Total cost: $46
But even if you are going to buy a template, you can purchase some pretty $13 templates and still come out around $59.
So there you have it! Our tips for making your own wedding invitations without breaking the bank. Have questions? Need more details? Let us know in the comments below.
Next up: Learn how to print your envelopes!
The information contained on this Website and the resources available for download through this website are for educational and informational purposes only. I am only sharing what worked for me, and as such, I cannot guarantee that any products or processes will give you the same results.
7 Comments
Leave your reply.