

How to Print on Vellum
Hey, all my brides-to-be! I’m sure you’re in the thick of wedding planning as we speak, yes? If you ask me, this is where things start to get fun: when you’re playing in the weeds and planning all those tiny details. Speaking of details, one of my favorite ways to up the wow factor of regular ol’ invites is with vellum. It’s beautiful, sheer and a little bit fancy. But if you’re not used to working with it, vellum can be, shall we say, daunting. So I thought I would drop in and give you a run down of all the tips and tricks I’ve learned along the way when it comes to how to print on vellum.
What is Vellum?
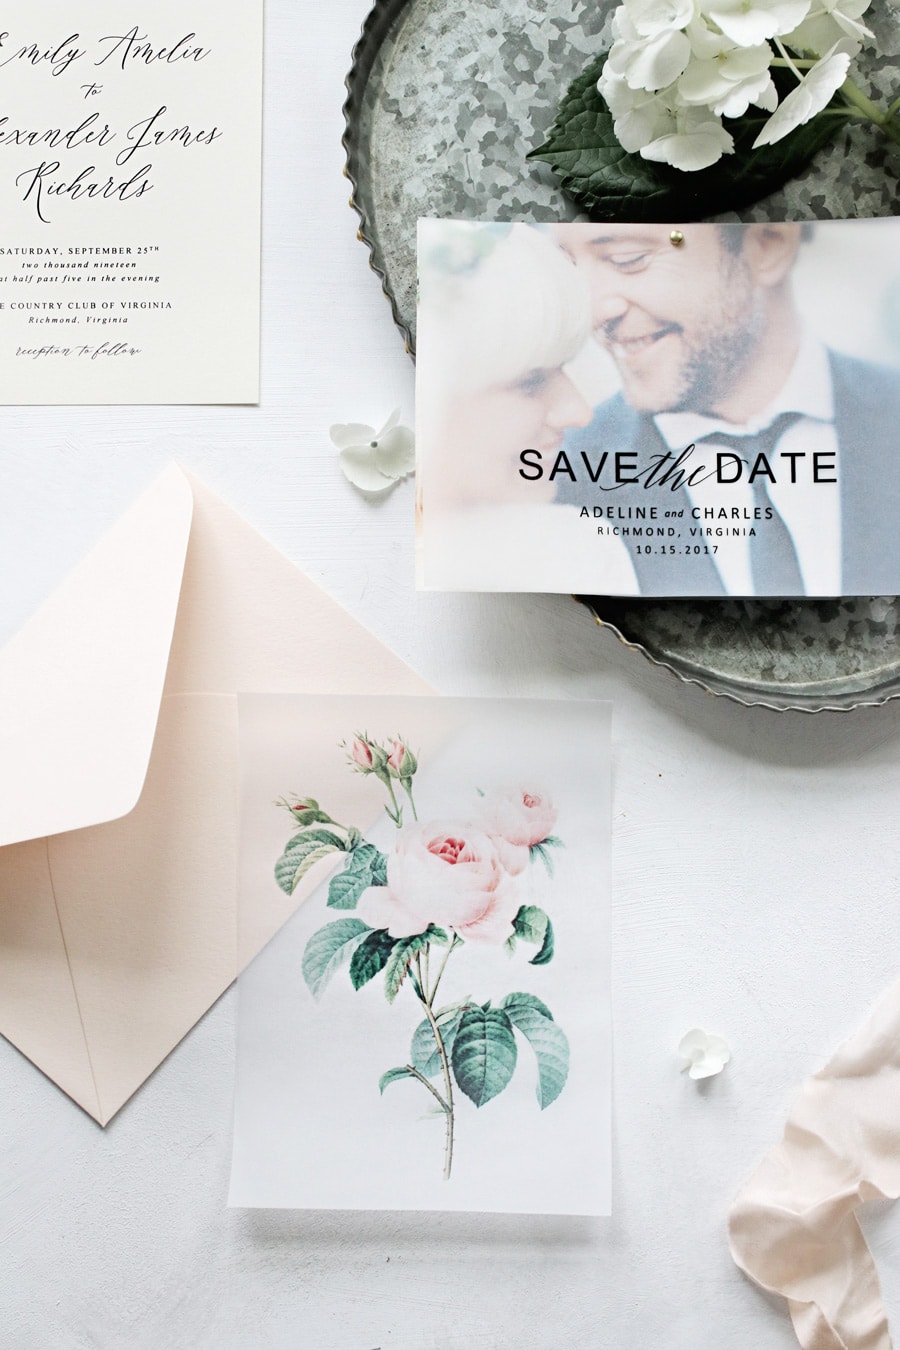
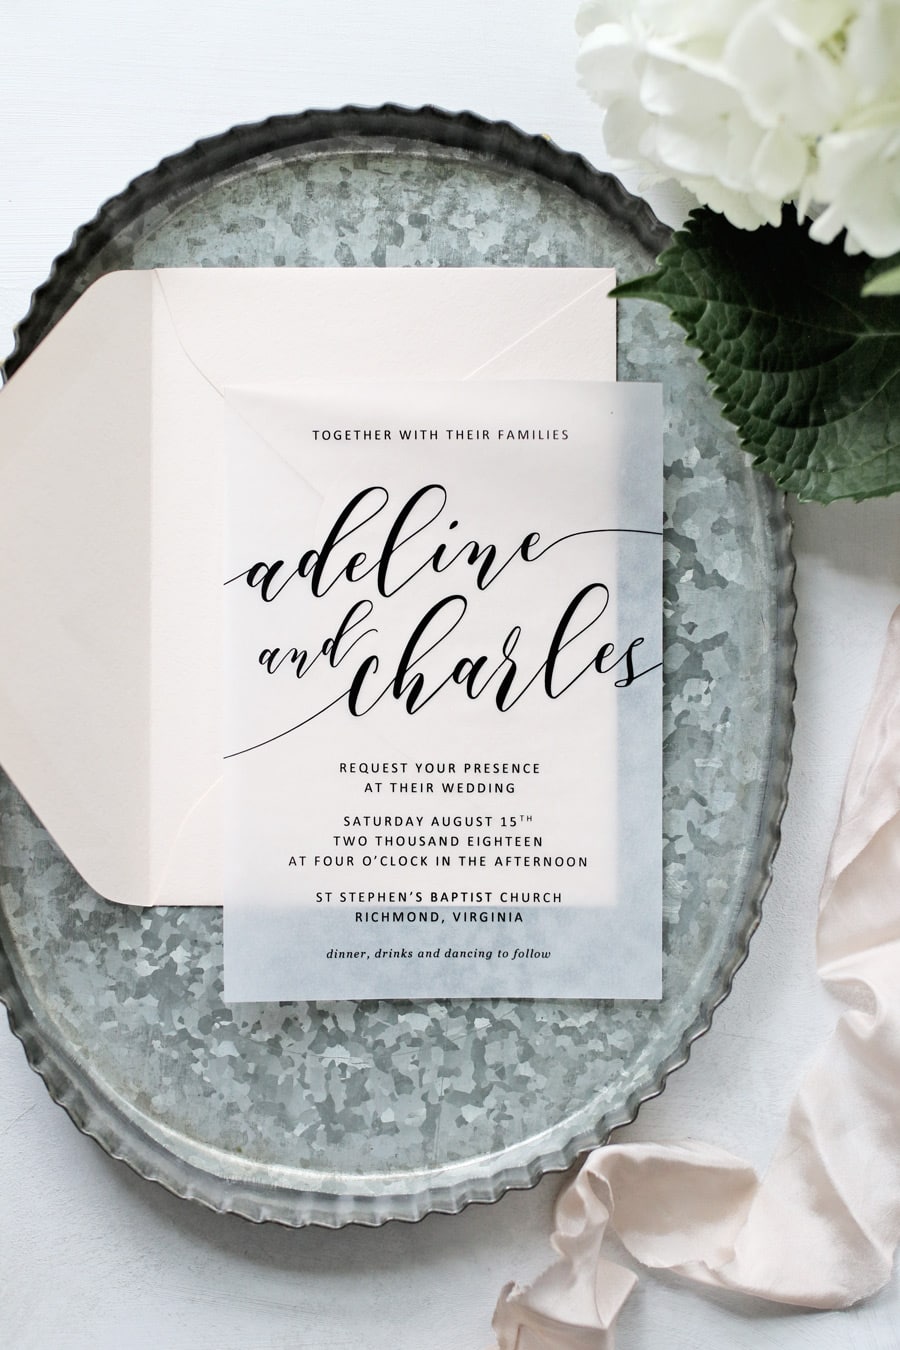
Vellum is a translucent paper that allows light to pass through, giving it a soft, foggy look. Because it’s slightly see-through, vellum adds interest when layered over an image or artwork, or it can be used by itself for a soft, modern alternative to traditional cardstock. For all intents and purposes vellum is considered a paper, but it’s actually not paper at all, it’s a type of plastic.
And because ink and plastic don’t always mix, printing can be tricky.
Where to Buy Vellum
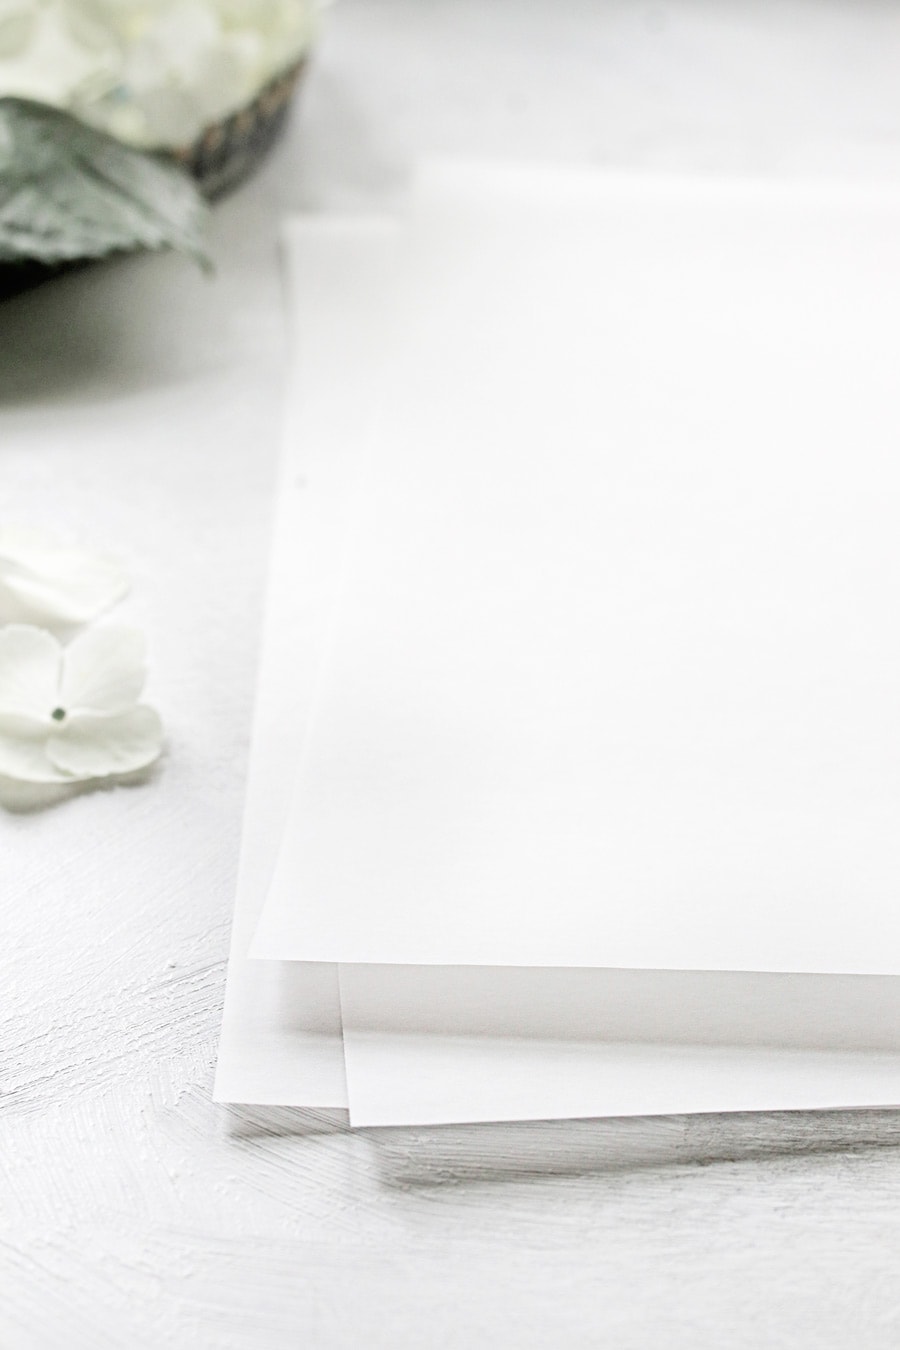
The quality of vellum you choose is just as important as the type of printer. So it’s important to invest a little money up front to keep from tearing your hair out later.
After trying at least 15 different brands, I only buy my vellum from Cards and Pockets.
I have tried nearly every vellum under the sun – craft store, office supply, even laser jet vellum – you name it. But nothing really compares to the quality or weight that Paper and More offers. (They aren’t sponsoring me to write this. I just love them that much.)
When choosing vellum, I recommend going with 30# vellum (a thinner, light weight option) for home printers and 48# vellum (a heavy-weight option) for professional printers. The 48# is actually what I use for all my custom designs and it’s ah-mazing.
What’s the best printer for vellum?
I currently use an ink jet printer (this one, if you’re curious) to print all my vellum invites, but I have used laser printers in the past. Here’s how the two stack up:
Laser
- The Pros: Since laser printers lay down a layer of dry ink on top of the paper, they don’t smudge like ink jets. Plus they print more quickly, dry instantly and use up less ink, so they can also be more cost effective.
- The Cons: Sometimes the ink has a tendency to flake off. And once that happens, it can stick to parts of the invitation where it doesn’t belong. I have only experienced this once – and it was pretty bad – but not all laser printers do this. It depends on the printer model and the kind of toner it uses.
–
Ink jet
- The Pros: Most of us have ink jets at home, which makes it a lot easier to play around with the settings and find the perfect fit. If you’re printing at home, you can easily print in batches, allowing each set to dry thoroughly before touching them. Ink jets also have a ton of different print settings so you’re guaranteed to find at least one that works.
- The Cons: Unlike laser printers, ink jets lay down wet ink. And since vellum is plastic, sometimes the ink has a hard time drying. I have always used ink jets for my vellum with hardly a streak or smudge in sight. But every so often I hear from a customer who says the ink never really dries. Again, it all depends on your printer model and the kind of ink it uses.
–
Sadly, some printers just print on vellum better than others.
The only way to know for sure is to do a test print on a couple different printers and see how it turns out.

Printer Settings for the Best Quality
Inkjet
Like I mentioned before, ink jets have a lot of different settings you can play around with. Here are my favorite settings for flawless vellum invitations:
- Regular or draft print mode – You want to use as little ink as possible, which means selecting one of the quick print modes – not high or photo print. I find that draft print sometimes affects the quality (ie. the lines look faint and blurry) so I pick the “regular” setting, and lessen the ink in other ways (see below).
- Short dry time – My Pixma Pro 100 allows me to choose the dry time, which essentially means it’s using less ink without affecting the quality. To see if your printer has this option, go to File > Print > Printer Properties > Maintenance > Custom Settings > Ink Drying Wait Time.
- Play with your paper selections – Selecting a different paper type can make all the difference in the world. Paper choices can vary by printer, but I have found that “fine art”, “transparency” or “glossy photo paper” settings are often a good bet.
–
Laser
Laser printers don’t usually have as many printing options to choose from. Plus, when printing at a big box print shop, no one wants to sit around for hours fiddling with the darn thing. But there is one easy option to try…
- Adjust the paper thickness setting – By choosing a thinner paper setting, you can often prevent jams, wrinkles and stray ink flakes that are common with laser printers.
Let it Dry
The amount of time vellum takes to dry varies by printer. I usually print my invites in batches and lay the sheets out to dry overnight to be safe. You can always use a blow dryer set to low heat (just don’t hold it too close or you’ll melt the vellum) or a gentle fan to help them dry more quickly.
If it doesn’t dry…
Make sure you’re using the right side of the vellum. Technically speaking, vellum has a more absorbent side and a less absorbent side. To spot the difference, slightly wet your forefinger and thumb, then press the vellum between your fingers. The vellum should stick to one finger and not the other, and the stickier side is the one you should print on.
This is sometimes easier said than done.
I usually just print on any old side and it turns out fine. But when it doesn’t, what I do is take two pieces of vellum (make a note of how you pull them from the package). On one, I’ll write “front” on the front side. On the other, I’ll write “back” on the back side. Then I’ll run them both through the printer, either frontside up or backside up depending on how they’re marked. Then I just wait to see which one dries better.
If all else fails, try a different printer.
I have printed enough of these to know that if you’re having that much trouble, your printer is to blame, not the vellum itself. Gather your vellum and head to Kinkos or a bridesmaid’s house and see if another printer works better.
Still have questions I didn’t cover? Head to the comments and let me know!
The information contained on this Website and the resources available for download through this website are for educational and informational purposes only. I am only sharing what worked for me, and as such, I cannot guarantee that any products or processes will give you the same results.

11 Comments
Leave your reply.