How to Print Envelopes the Easy Way
Gorgeous, hand-lettered envelopes are everywhere these days. But with calligraphers charging $4 an envelope, they’re out of most couples’ budgets. Thankfully, you can print your own with nothing but a desktop printer, a template and some envelopes. Even if you’re not printer savvy, figuring out how to print envelopes is a lot easier than you think.
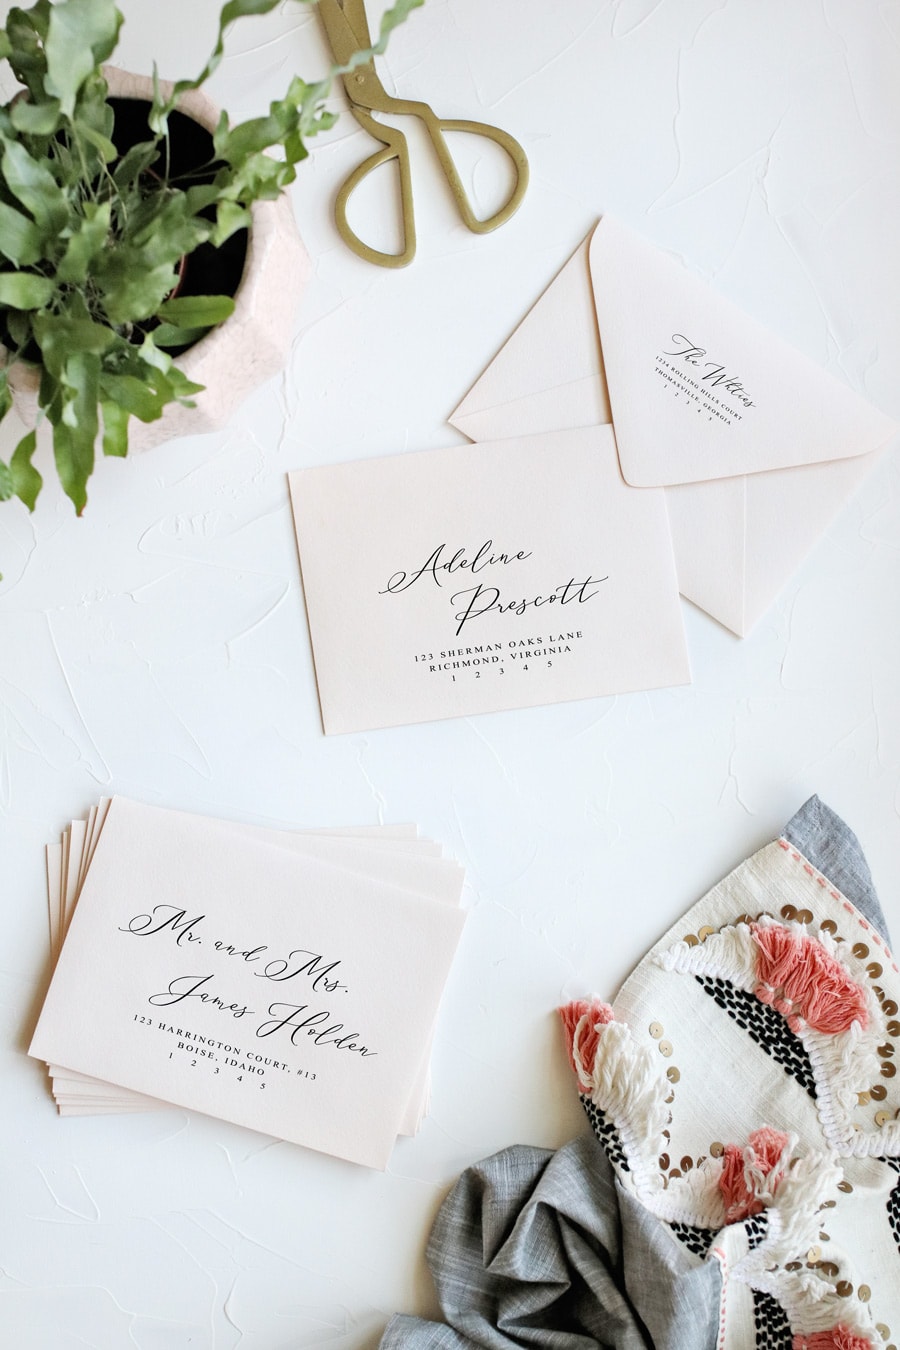
Read on to learn how.
How to Print Envelopes the Easy Way
Start with an envelope template
The easiest way to print your own envelopes is to purchase a template. Most templates will run you less than $10 and save you tons of time, but it’s not the only way to do it. If you would rather create your own template, click here to learn how to make your own from scratch.
Most envelope templates are setup so the page size is the same size as your envelope. Therefore if you’re printing on A7 envelopes, the page size will be 5.25” x 7.25”. This allows you to print envelopes exactly like you would a sheet of text paper, without having to adjust your printer trays, unfold the envelope or change any major settings.
This also means that you have to purchase a template the exact same size as your envelopes, since you can’t change the template size later.
But each printer is different, so if you have never printed envelopes before, I highly recommend test printing a few different sizes before purchasing a template. It could save you lots of time, money and heartache in the process.
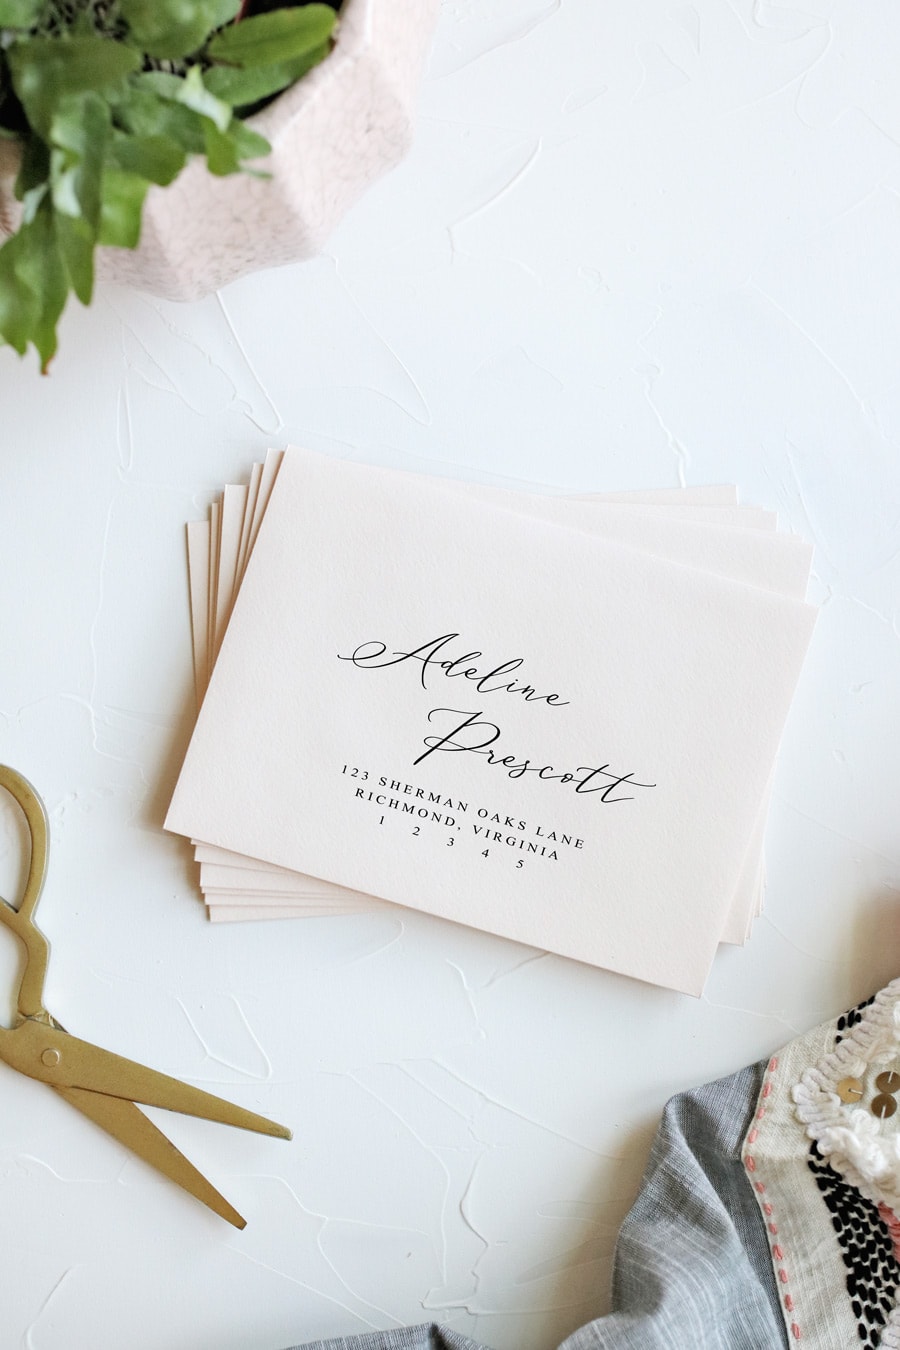
Print your envelopes
Depending on your printer, these instructions might vary slightly so it’s always best to read your printer manual before printing envelopes. But here’s how I do it.
- Open your printer’s rear feed tray and place a small stack of envelopes (I buy my envelopes from here) face up. Note: not all printers have these nowadays, so if yours doesn’t, put your envelopes in the bottom cassette like you would regular text paper.
- Cinch the paper holder closed so it sits snugly against the edge of your envelopes.
- Open your template and go to File > Print. In the printer settings dialogue, you should see a picture of a sheet of paper with a paper size next to it. Click the dropdown arrow and select “More Paper Sizes”. Enter the width and height of your envelope and hit ‘OK’.
- Go to Printer Properties > Paper Source and select “Rear Feed Tray” (or Cassette depending on where your envelopes are coming from).
- It’s best to do a test print before printing all your envelopes. So, where it says “Pages” enter a “1”. Hit print.
- After test printing, if you have any issues with ink smudging or smearing, go to Printer Properties > Maintenance > Custom Settings > Prevent Paper Abrasion and click ‘OK’. Depending on your printer, this might help alleviate some abrasion issues.
That’s it! Your envelope should look exactly like your template, but from experience I know that’s not always the case. Here are some of the issues I have run into when trying to print.
Common issues you might run into
You’re using a different size envelope than the template was made for
Like I mentioned earlier, it’s important to know the size your template was made for. If you’re trying to print an A7 template on an A6 envelope, the font will be the wrong size and won’t be centered on your envelope. Unfortunately Word there’s not an easy way to “scale down” a template and keep the layout the same, so you need to choose the right template from the start so everything prints without a hitch.
You’re using an old printer that requires you to jump through hoops
Every so often, I hear from a bride that her printer requires her to open the envelope in order to print. Or that her feed tray won’t cinch small enough to accommodate her envelopes. Or that her printer’s intake system won’t pick up the envelopes.
Unfortunately these issues have nothing to do with the template and can be tricky to fix. So before purchasing a template, it’s always best to make sure your printer can actually print envelopes.
Without seeing the printer in person, it’s hard to help troubleshoot those issues, so my recommendation is to call a friend (or better yet, a bridesmaid!) and ask to borrow their printer. Printing 150 envelopes should only use up about 1/4 of a tank of black ink, so compensate them with a bottle of bubbly or a $20-spot and call it a day.
You didn’t select a paper size in your printer settings (or you chose the wrong one)
Make sure your printer is set to print on the right size paper. To do that, simply type your envelope’s exact dimensions in the paper height and width fields in your printer settings.
Your printer defaulted to the wrong orientation
If you’ve done everything right but your envelopes are still coming out wonky (ie. the text is completely out of alignment and traveling off the side of the page), try changing the page layout. If it’s set to portrait, select landscape and vice versa.
The information contained on this Website and the resources available for download through this website are for educational and informational purposes only. I am only sharing what worked for me, and as such, I cannot guarantee that any products or processes will give you the same results.


6 Comments
Leave your reply.