

DIY Vellum Wedding Invitations
One of the best things about printing your own wedding invitations is that you have the freedom to make them look however you want. Even if you don’t consider yourself the craftiest of brides, you can still make beautiful, personalized invites simply by starting with a design you love and choosing interesting papers that look amazing when layered. That’s essentially what we did with these sweet vellum wedding invitations.
Just print your invitation templates in two phases, with the text on vellum and the artwork on high-quality cardstock. Then put them together with ribbon or a simple gold brad. We’ll even show you the exact supplies we use to make professional-looking invites without spending a ton of money.
Layered Floral Wedding Invitations
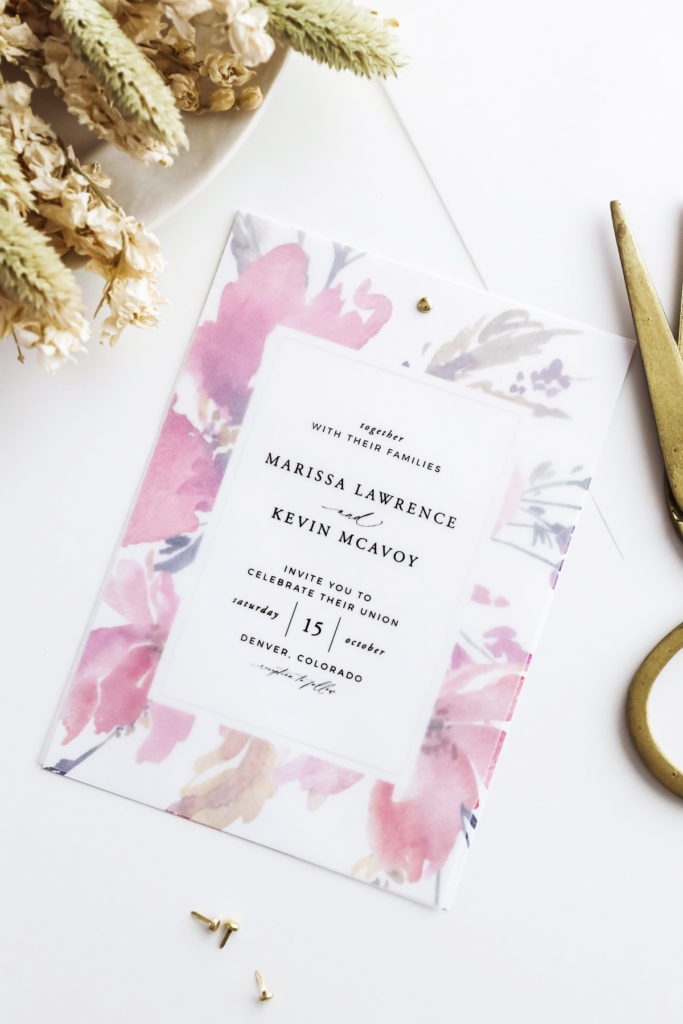
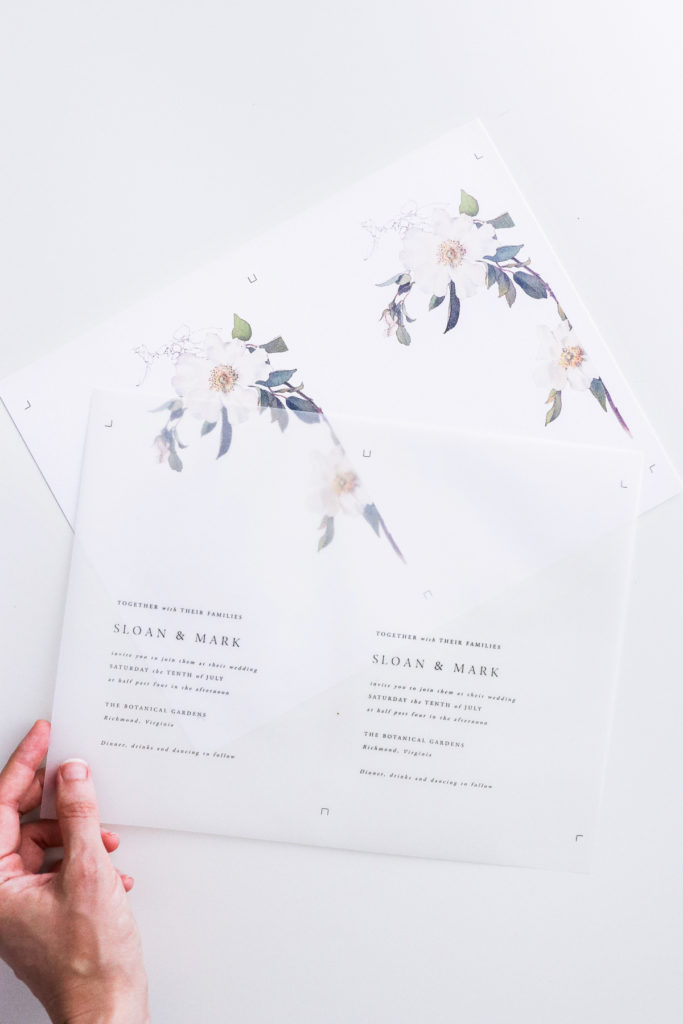
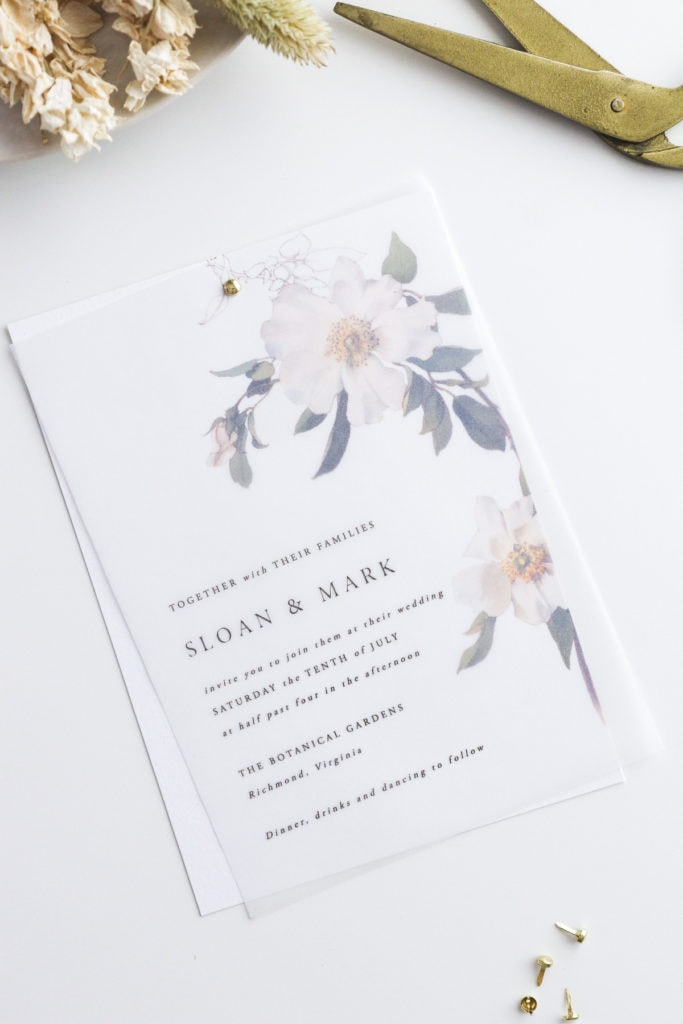
These beauties were made by printing our Marissa invitation template on vellum to give it a translucent effect. Then we printed the watercolor border on heavier cardstock.
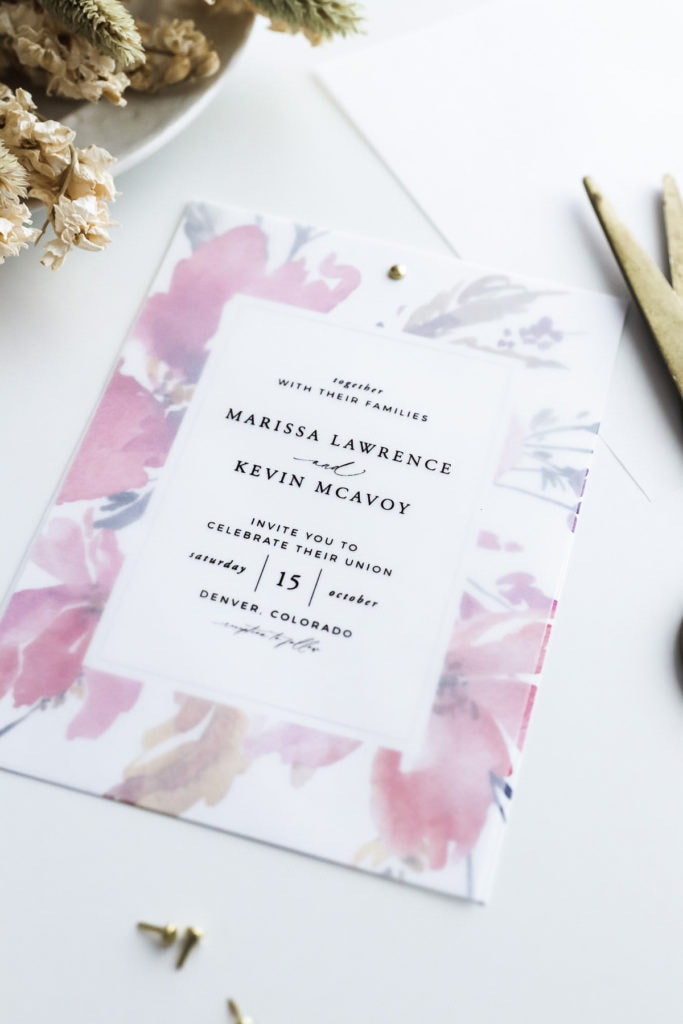
Not only does the cardstock give the final invitation some weight (which adds to its charm) but the basket-weave texture of this linen cardstock really shines through giving the watercolors a hand painted effect and adding a bit of interest to the end product. Then we fastened the whole thing together with a teeny gold brad to keep everything in order during transit and to add a bit of shimmer and shine.
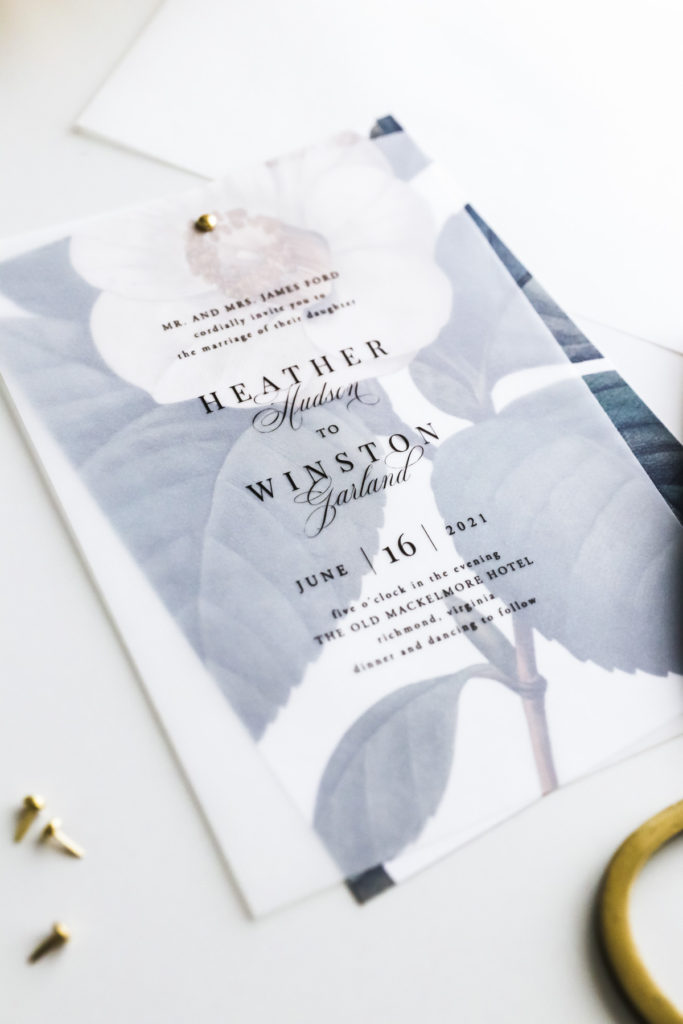
And you can get this same effect with any of our templates:
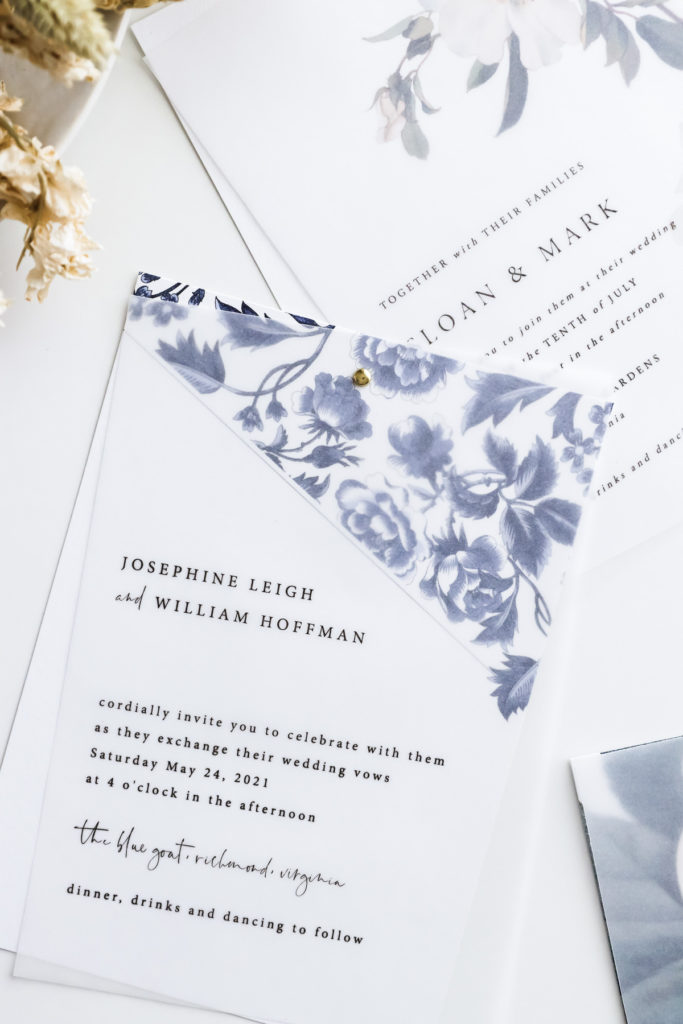
Above is Josephine and Sloan. And below is the Heather template.
DIY Vellum Wedding Invitations
Materials
White vellum
Linen cardstock
Gold brads
Scissors or paper cutter
Sharp knife
Invitation template
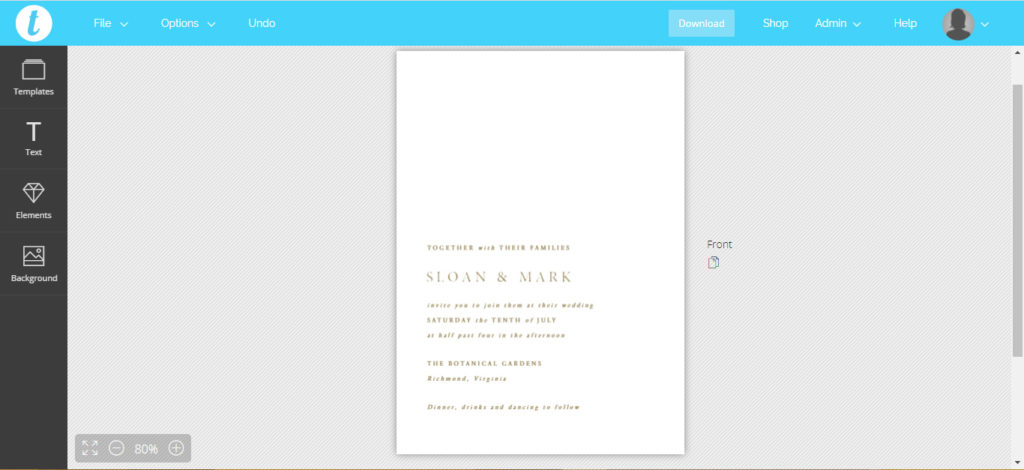
1. Start by editing your templates in Templett. When it looks exactly how you want it, save it.
2. Download your template as two separate PDF files: one with just the text and one with just the background.
To do this, click on the background image and hit delete on your keyboard. You should be left with just the text portion of your invitation.
Go to Download > PDF > select the paper save and trim mark options. Download your template.
Now, without saving your current view, open your template again (click Templates on the left toolbar, then locate your invitation template.)
Hold down the Shift key and click on each of the text boxes, then hit Delete on your keyboard. You should be left with just the artwork portion of your invitation.
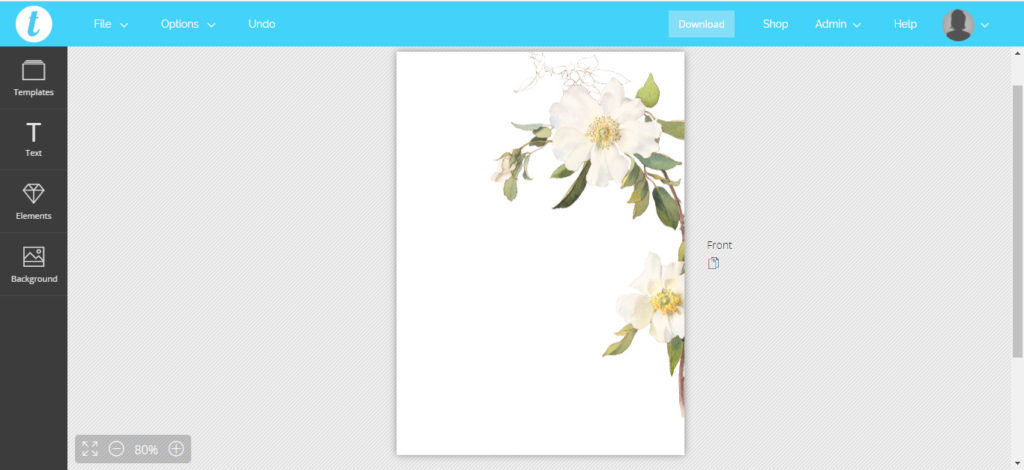
Go to Download > PDF > select the paper save and trim mark options. Download your template.
3. Print your templates
Start by printing the text on 8.5 x 11″ vellum. Then print the background on regular cardstock.
4. Trim out your templates.
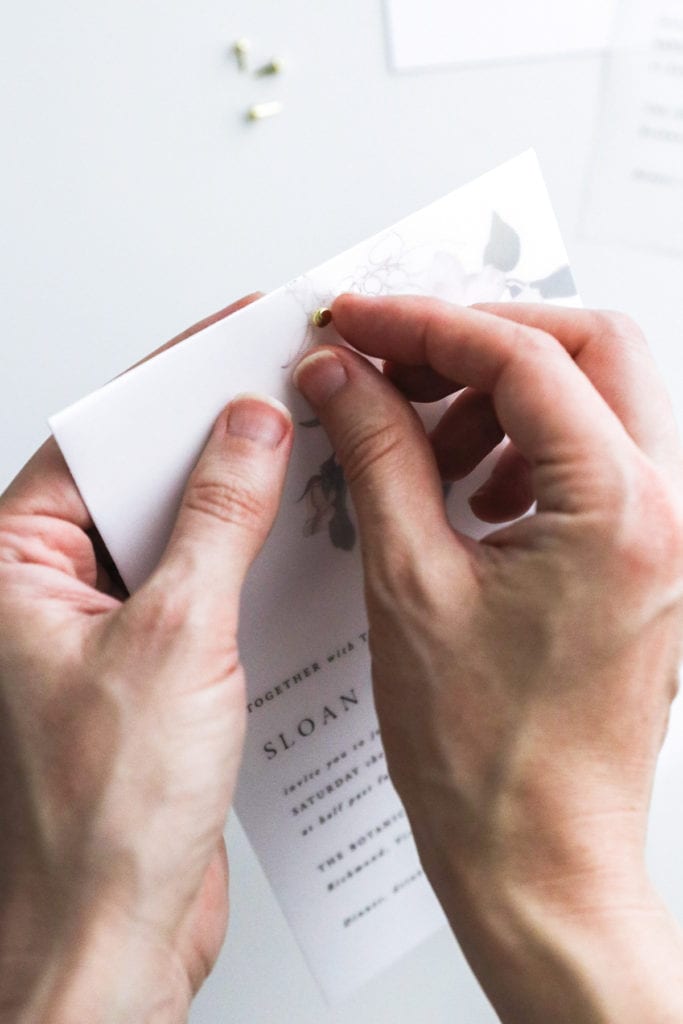
5. Place one of the pieces of vellum on top of a piece of cardstock. Using a sharp knife, make a tiny hole at the top through which you can insert a brad.
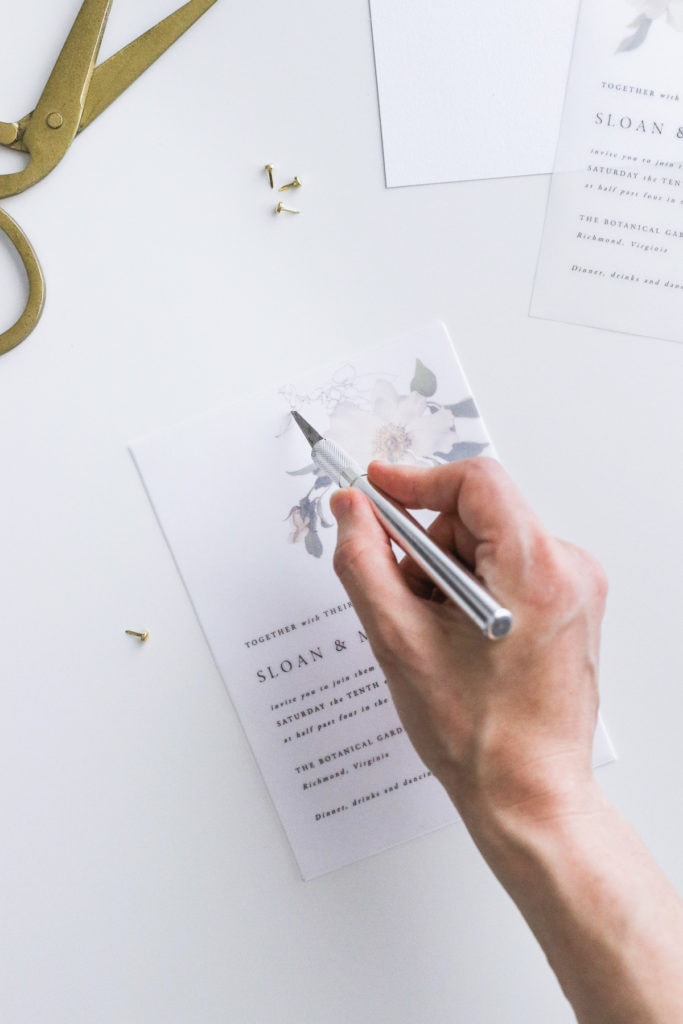
6. Insert a brad through they layers of cardstock and pry the ends apart.
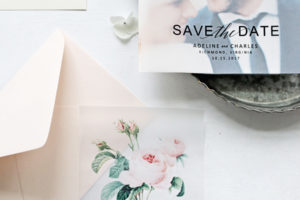
As for the RSVP, you can either print it on vellum to match the invitation or print it on the same cardstock as the illustration. Then just pair with a colored envelope to tie the whole thing together.
Voila! Beautiful vellum wedding invitations, craftiness not required.
The information contained on this Website and the resources available for download through this website are for educational and informational purposes only. I am only sharing what worked for me, and as such, I cannot guarantee that any products or processes will give you the same results.


24 Comments
Leave your reply.