

DIY Laser Cut Wedding Invitations
Laser cut wedding invitations are everywhere these days. But even if you find a printer willing to do it for you, such a pricey process is out of the question for most of the brides I work with. Even those laser slide-in cards often touted as an “inexpensive” alternative aren’t doing your budget any favors. But here’s a little hack to get you the same look without blowing your budget. Read on to learn how to make DIY laser cut wedding invitations at home on the cheap.
DIY Laser Cut Wedding Invitations
Some laser cut invitation tutorials have you use scissors to get that die-cut look at home. But here’s the thing: those just look handmade – not laser cut. Sure, you can cut your invitations in a fancy shape and call it a day, but as a recovering perfectionist, I think you can do a lot better without going overboard.
You can find a ton of pretty edge punches in the scrapbooking section of just about any craft store. When combined with a simple invitation template and pretty paper, you can get the exact same look as those professional laser invitations for next to nothing.
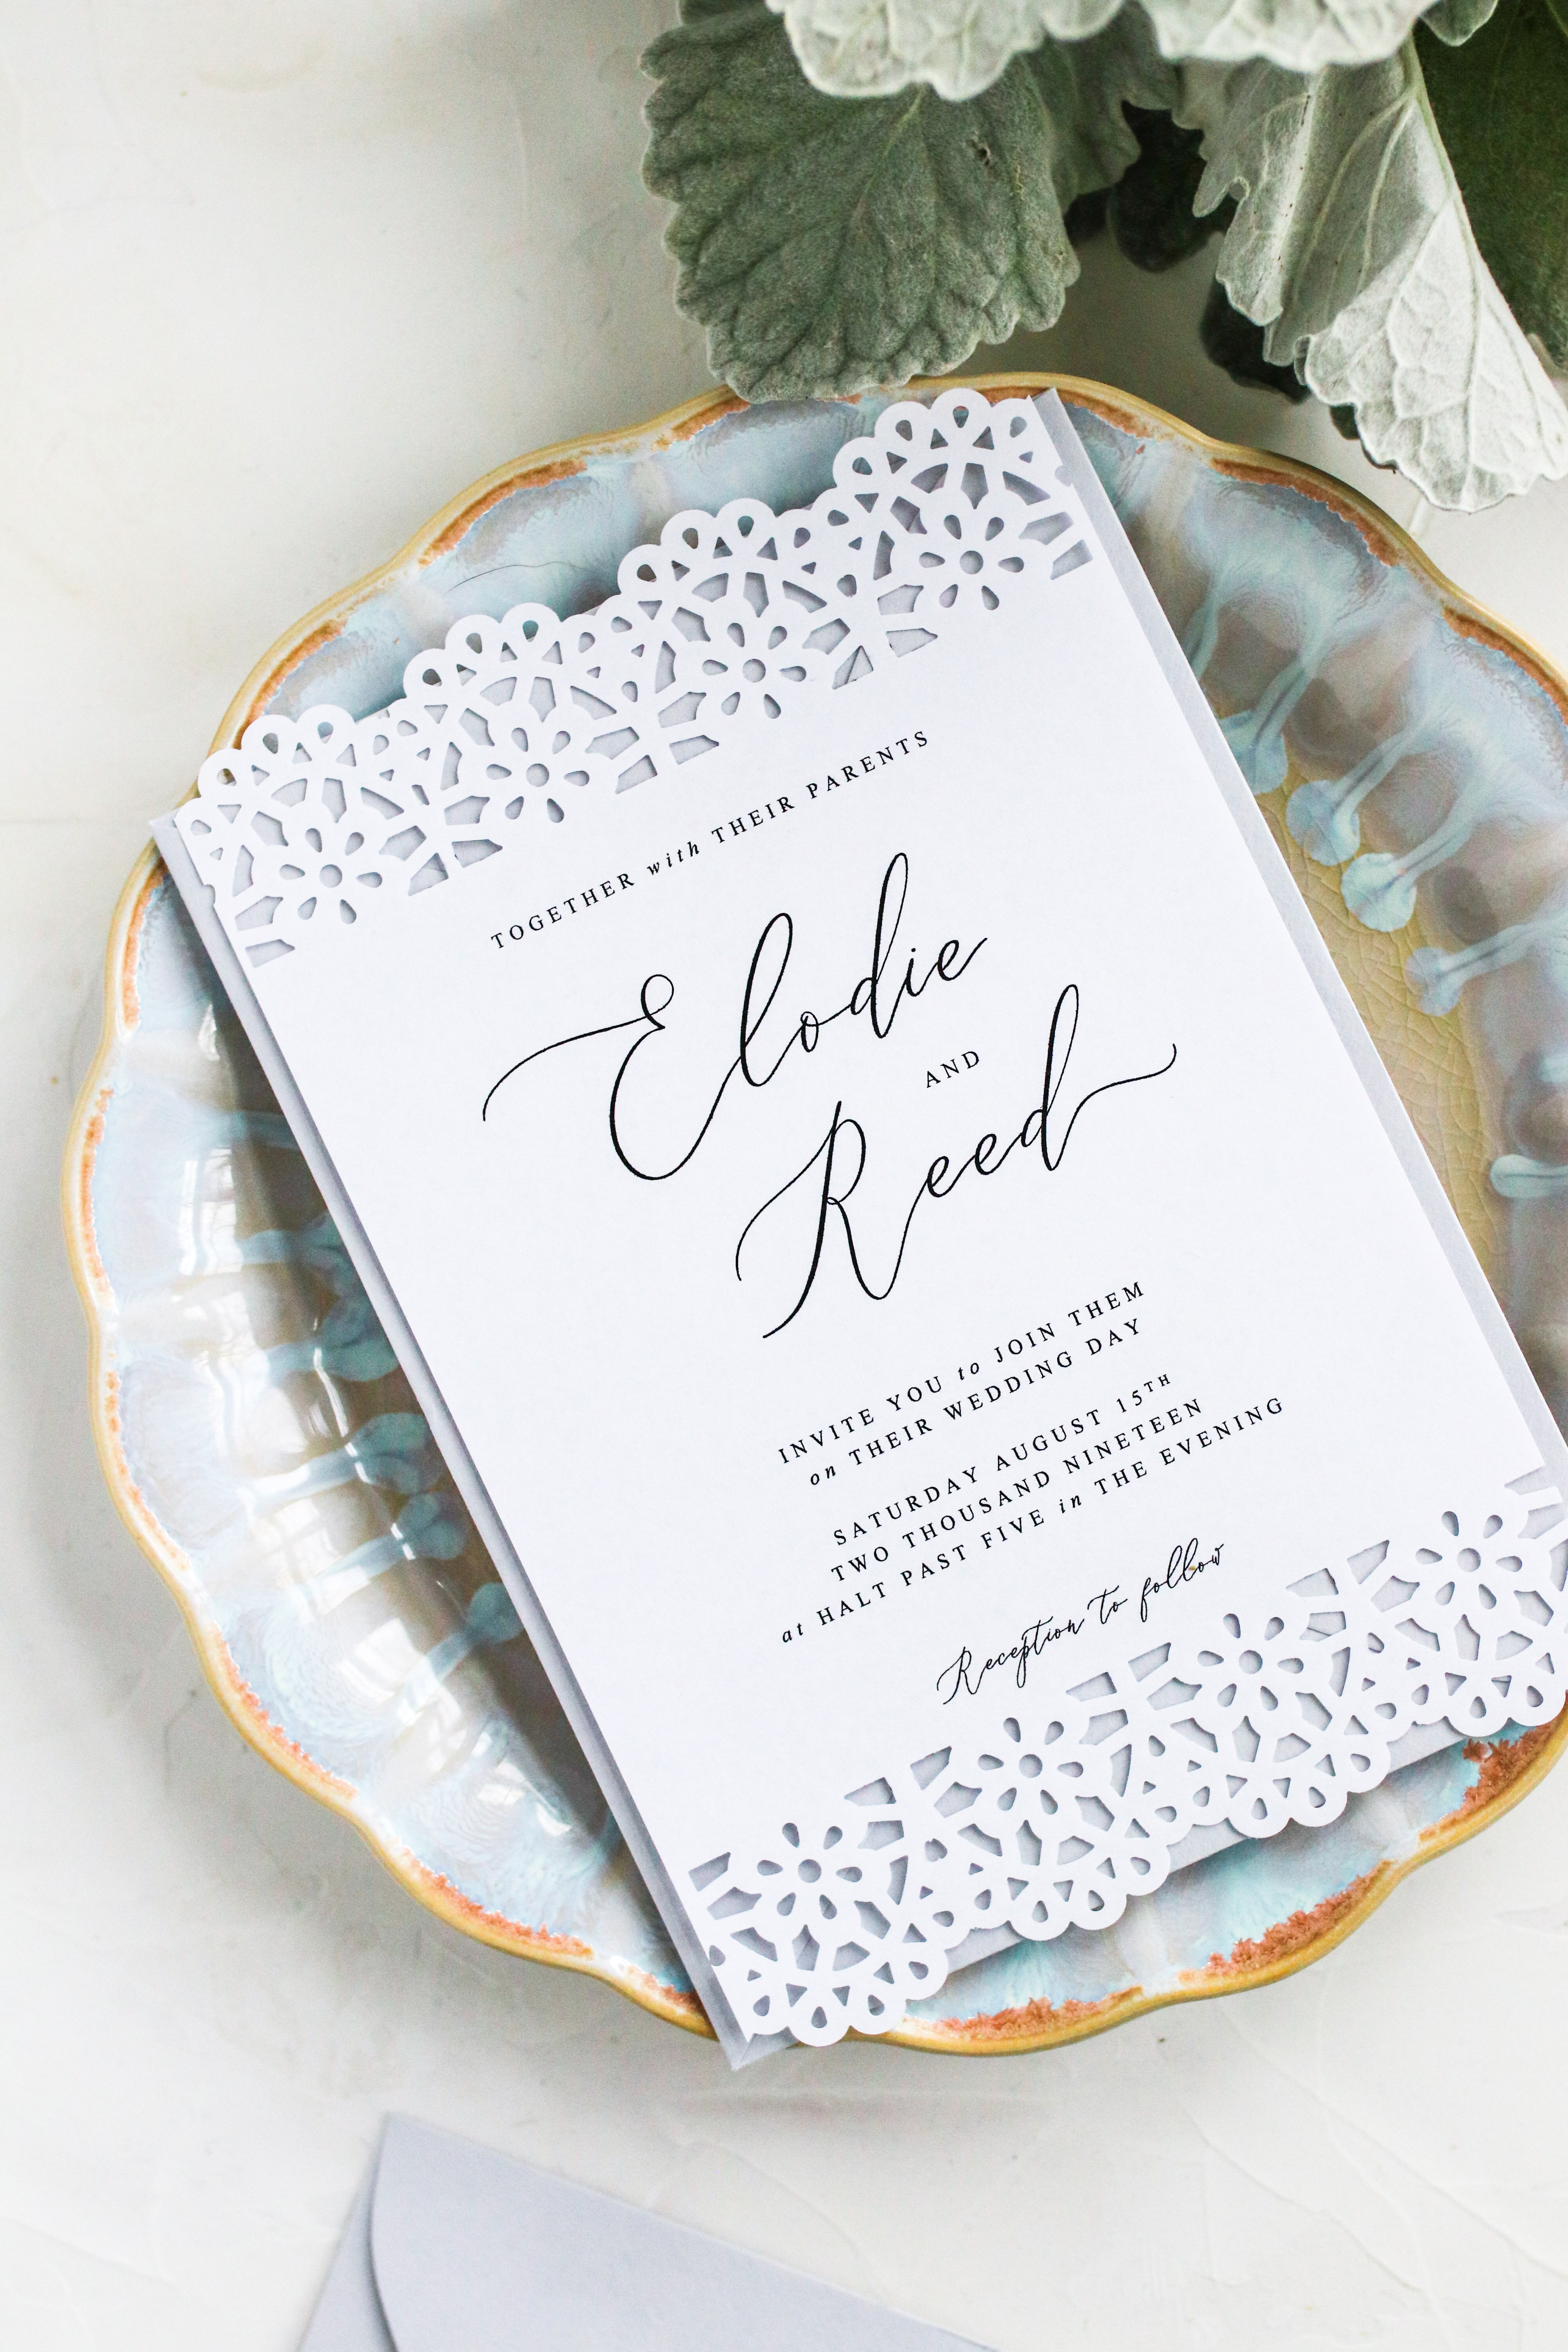
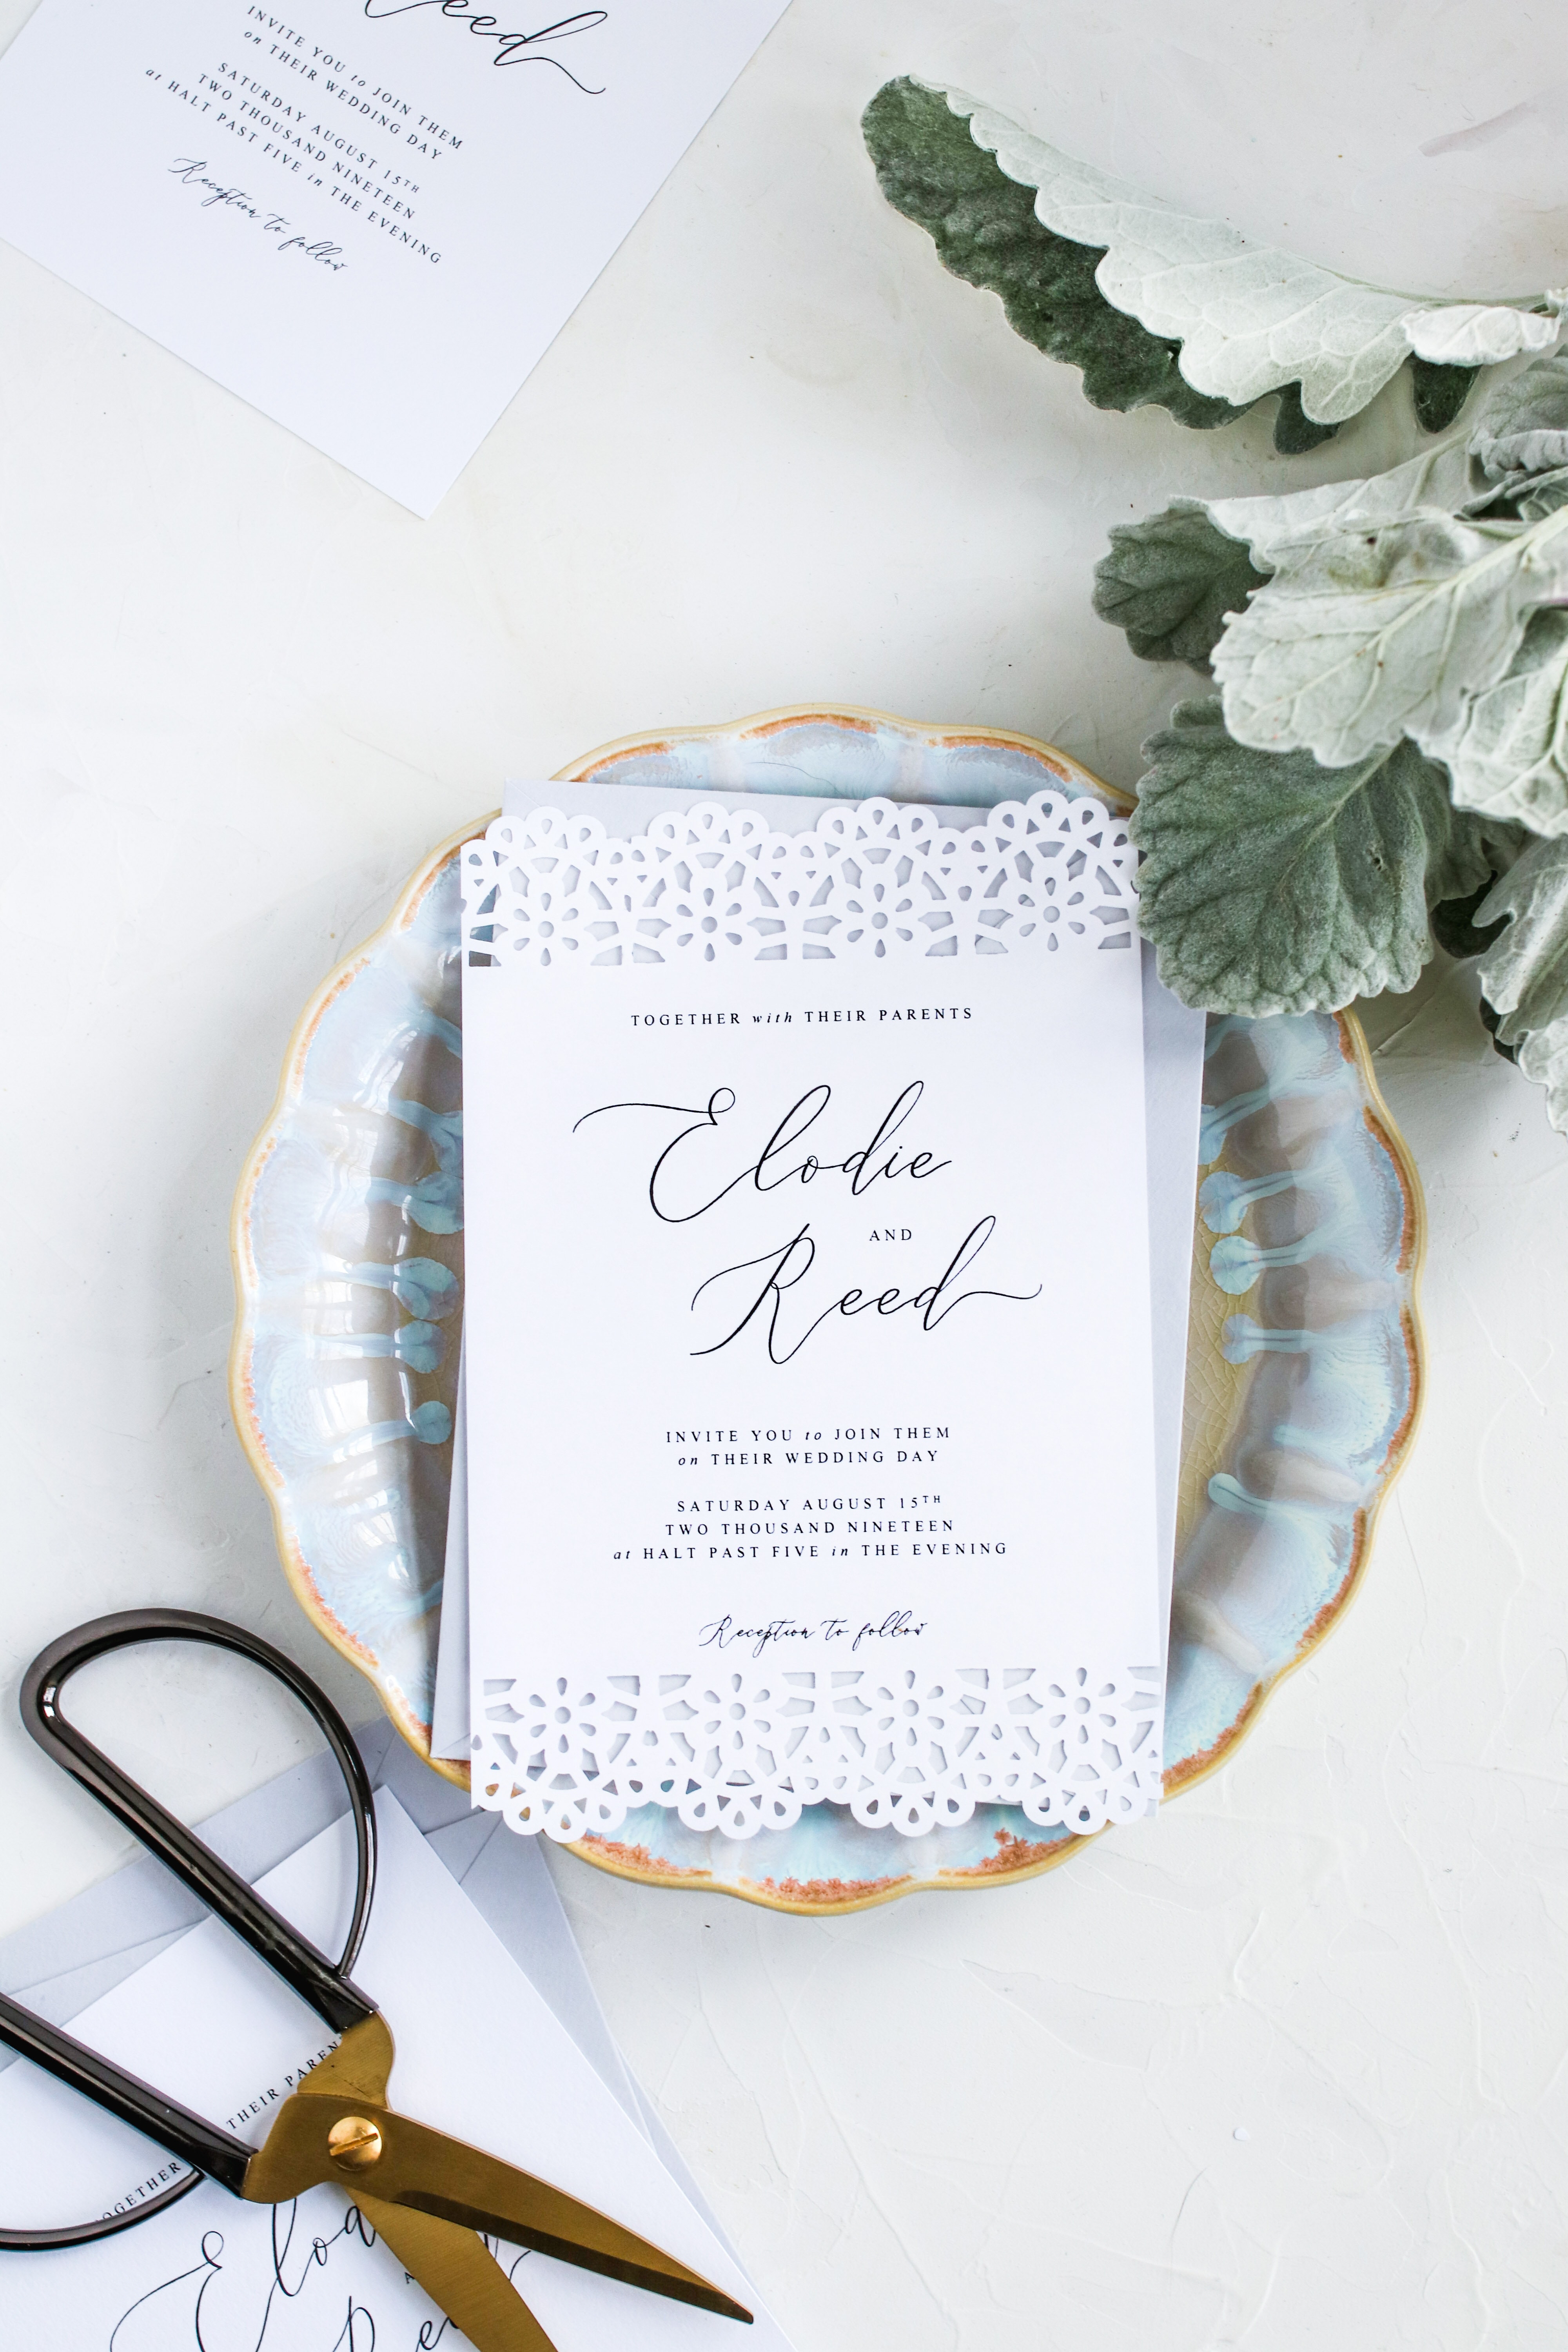
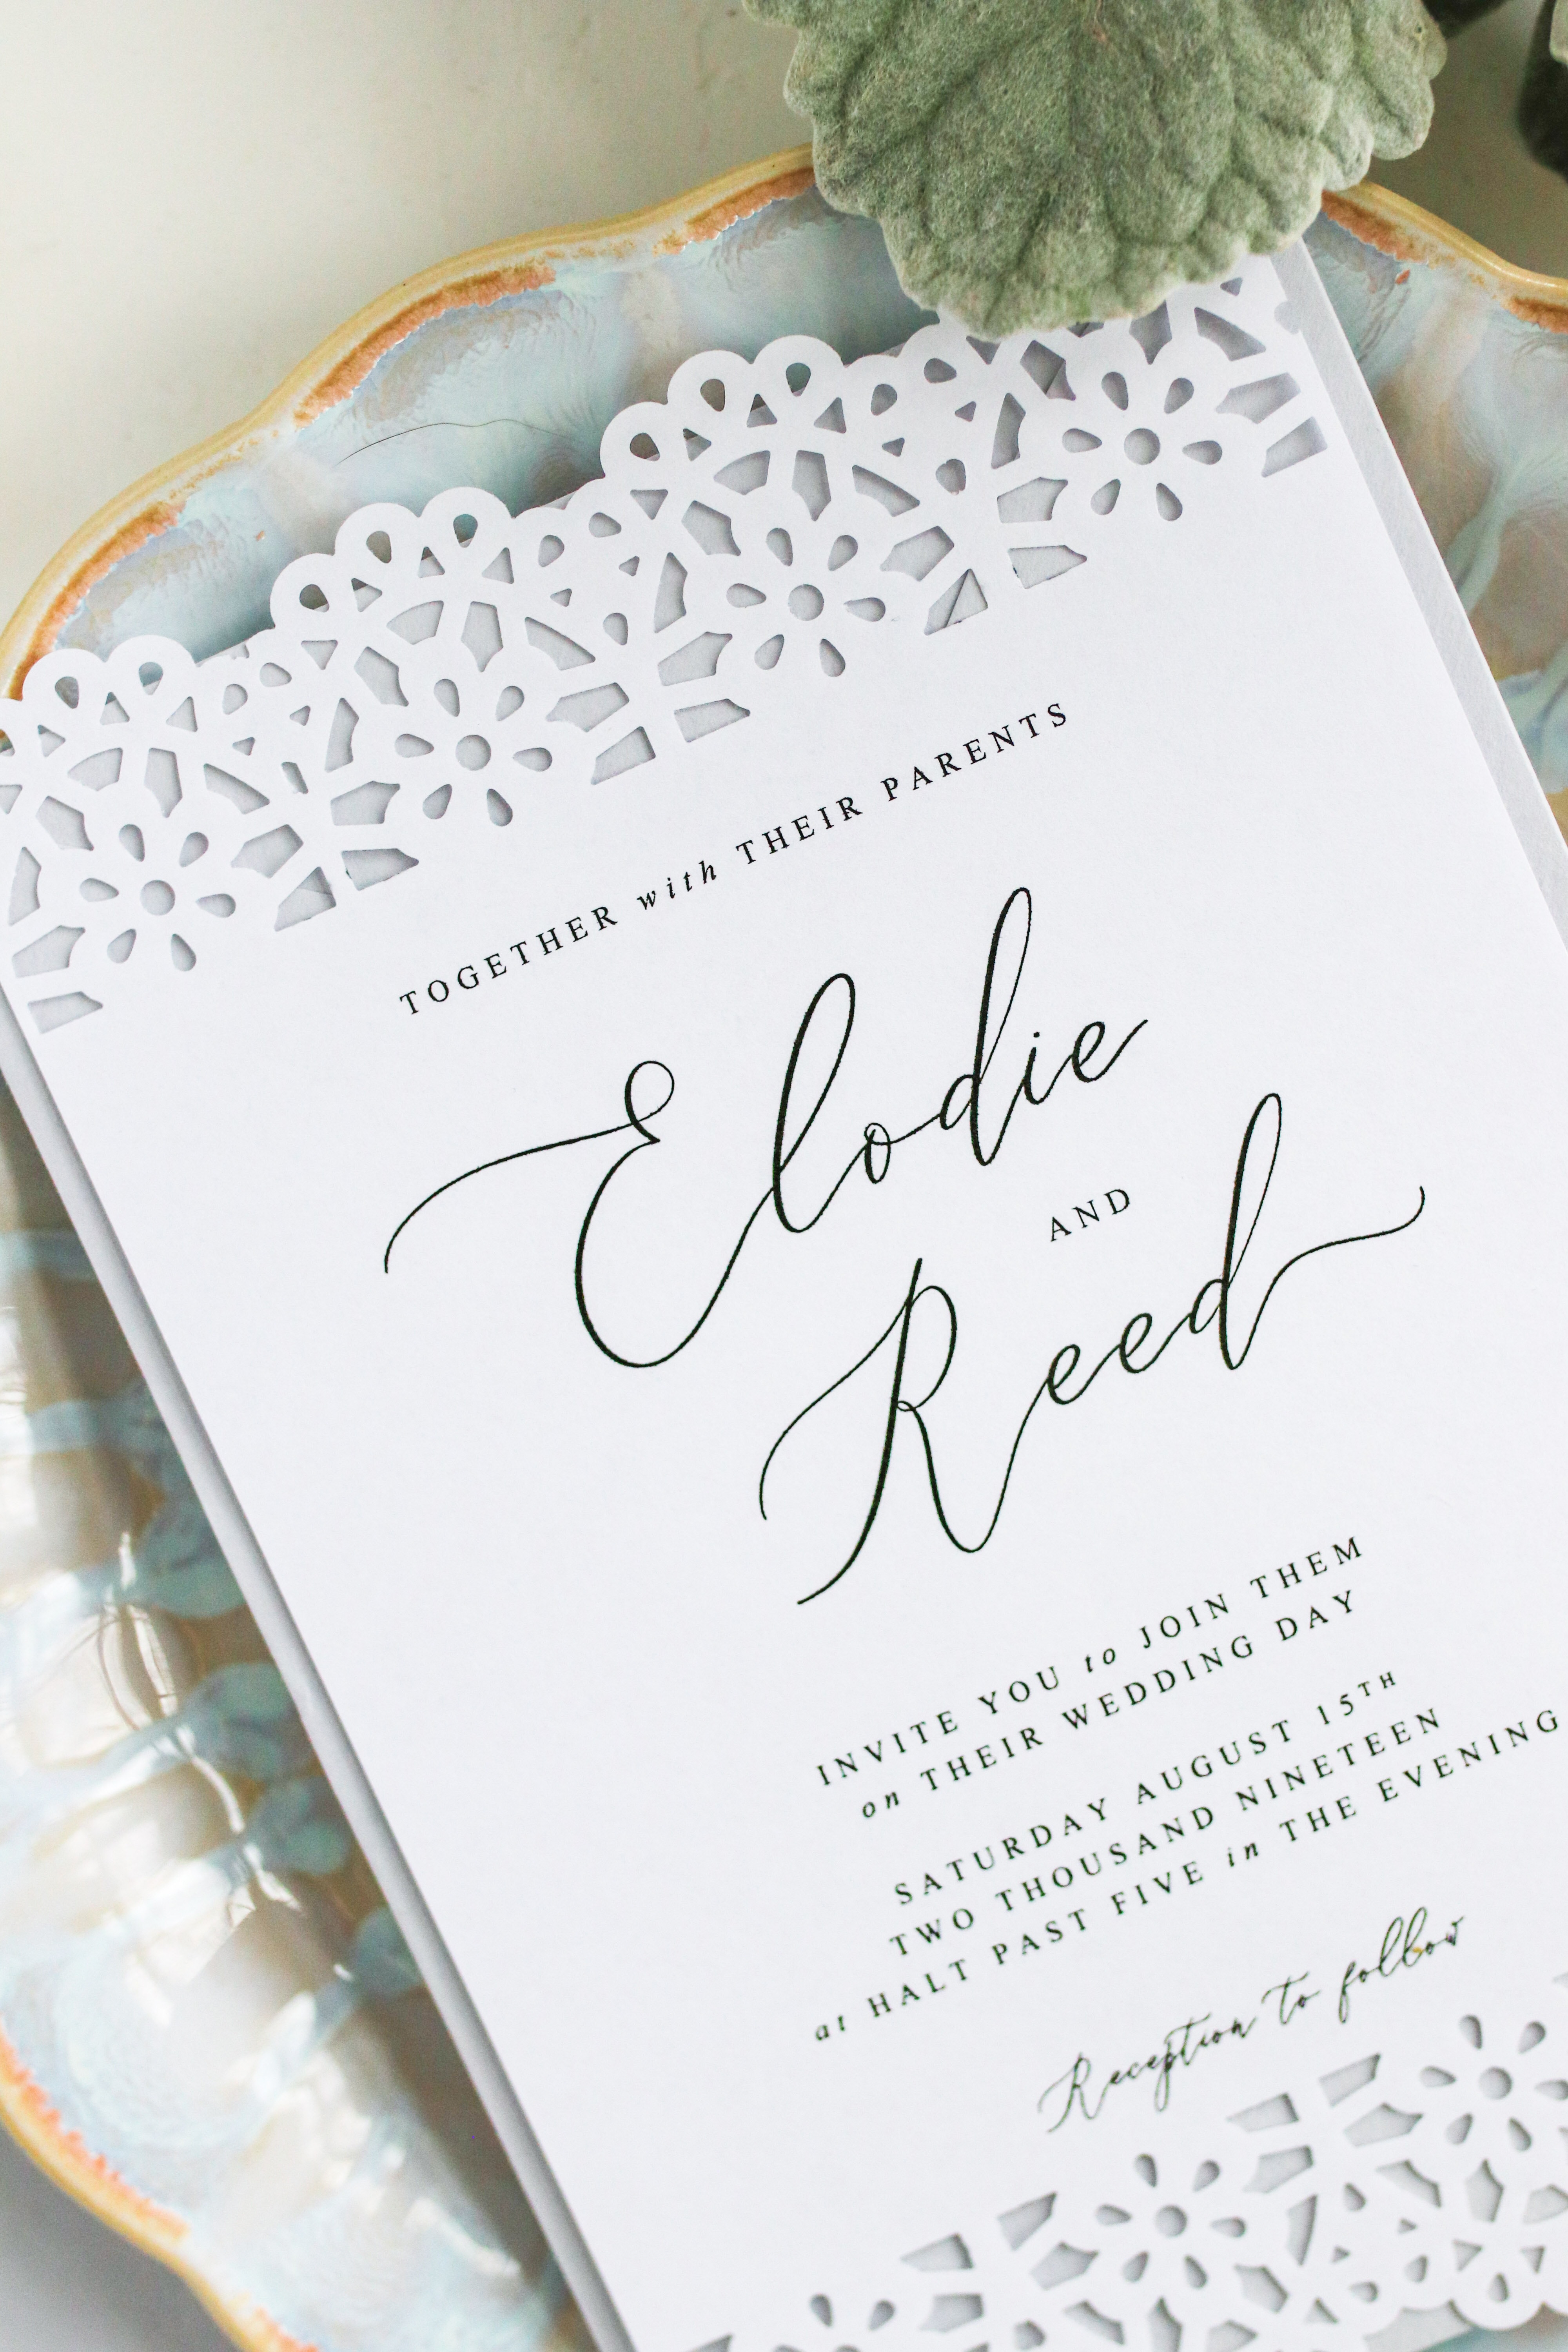
To make mine, I used an old Martha Stewart edge punch I picked up on sale a few years ago. I originally fell in love with the intricate lace pattern. But it wasn’t until I tried pairing it with a clean, elegant invitation template that it really came together. These DIY laser cut wedding invitations look pretty, soft and elegant without being hokey or rustic. And since the punch is deep, there’s a substantial amount of lace pattern showing, which helps make everything feel more professional.
My only word of advice is to be careful choosing your paper. Most edge punches are made for scrapbooking, so they won’t work if your paper is too thick. I would recommend picking up some cardstock in the 80-90# range and testing it out (you can find some at most craft or business supply stores). Mine worked perfectly on 80# cardstock but yours could be different.
Ready to make ‘em? Let’s get started…
Supplies
- Printable invitation template
- 80# cardstock
- Paper edge punch (similar: here, here, and here)
- Printer
- Scissors or a paper cutter
- Envelopes
Instructions
Update your invitation template with your wedding details. If needed, adjust the text so you have enough room at the top and bottom of your template for the punch pattern to fit comfortably (this may take a test print or two to get it just right).
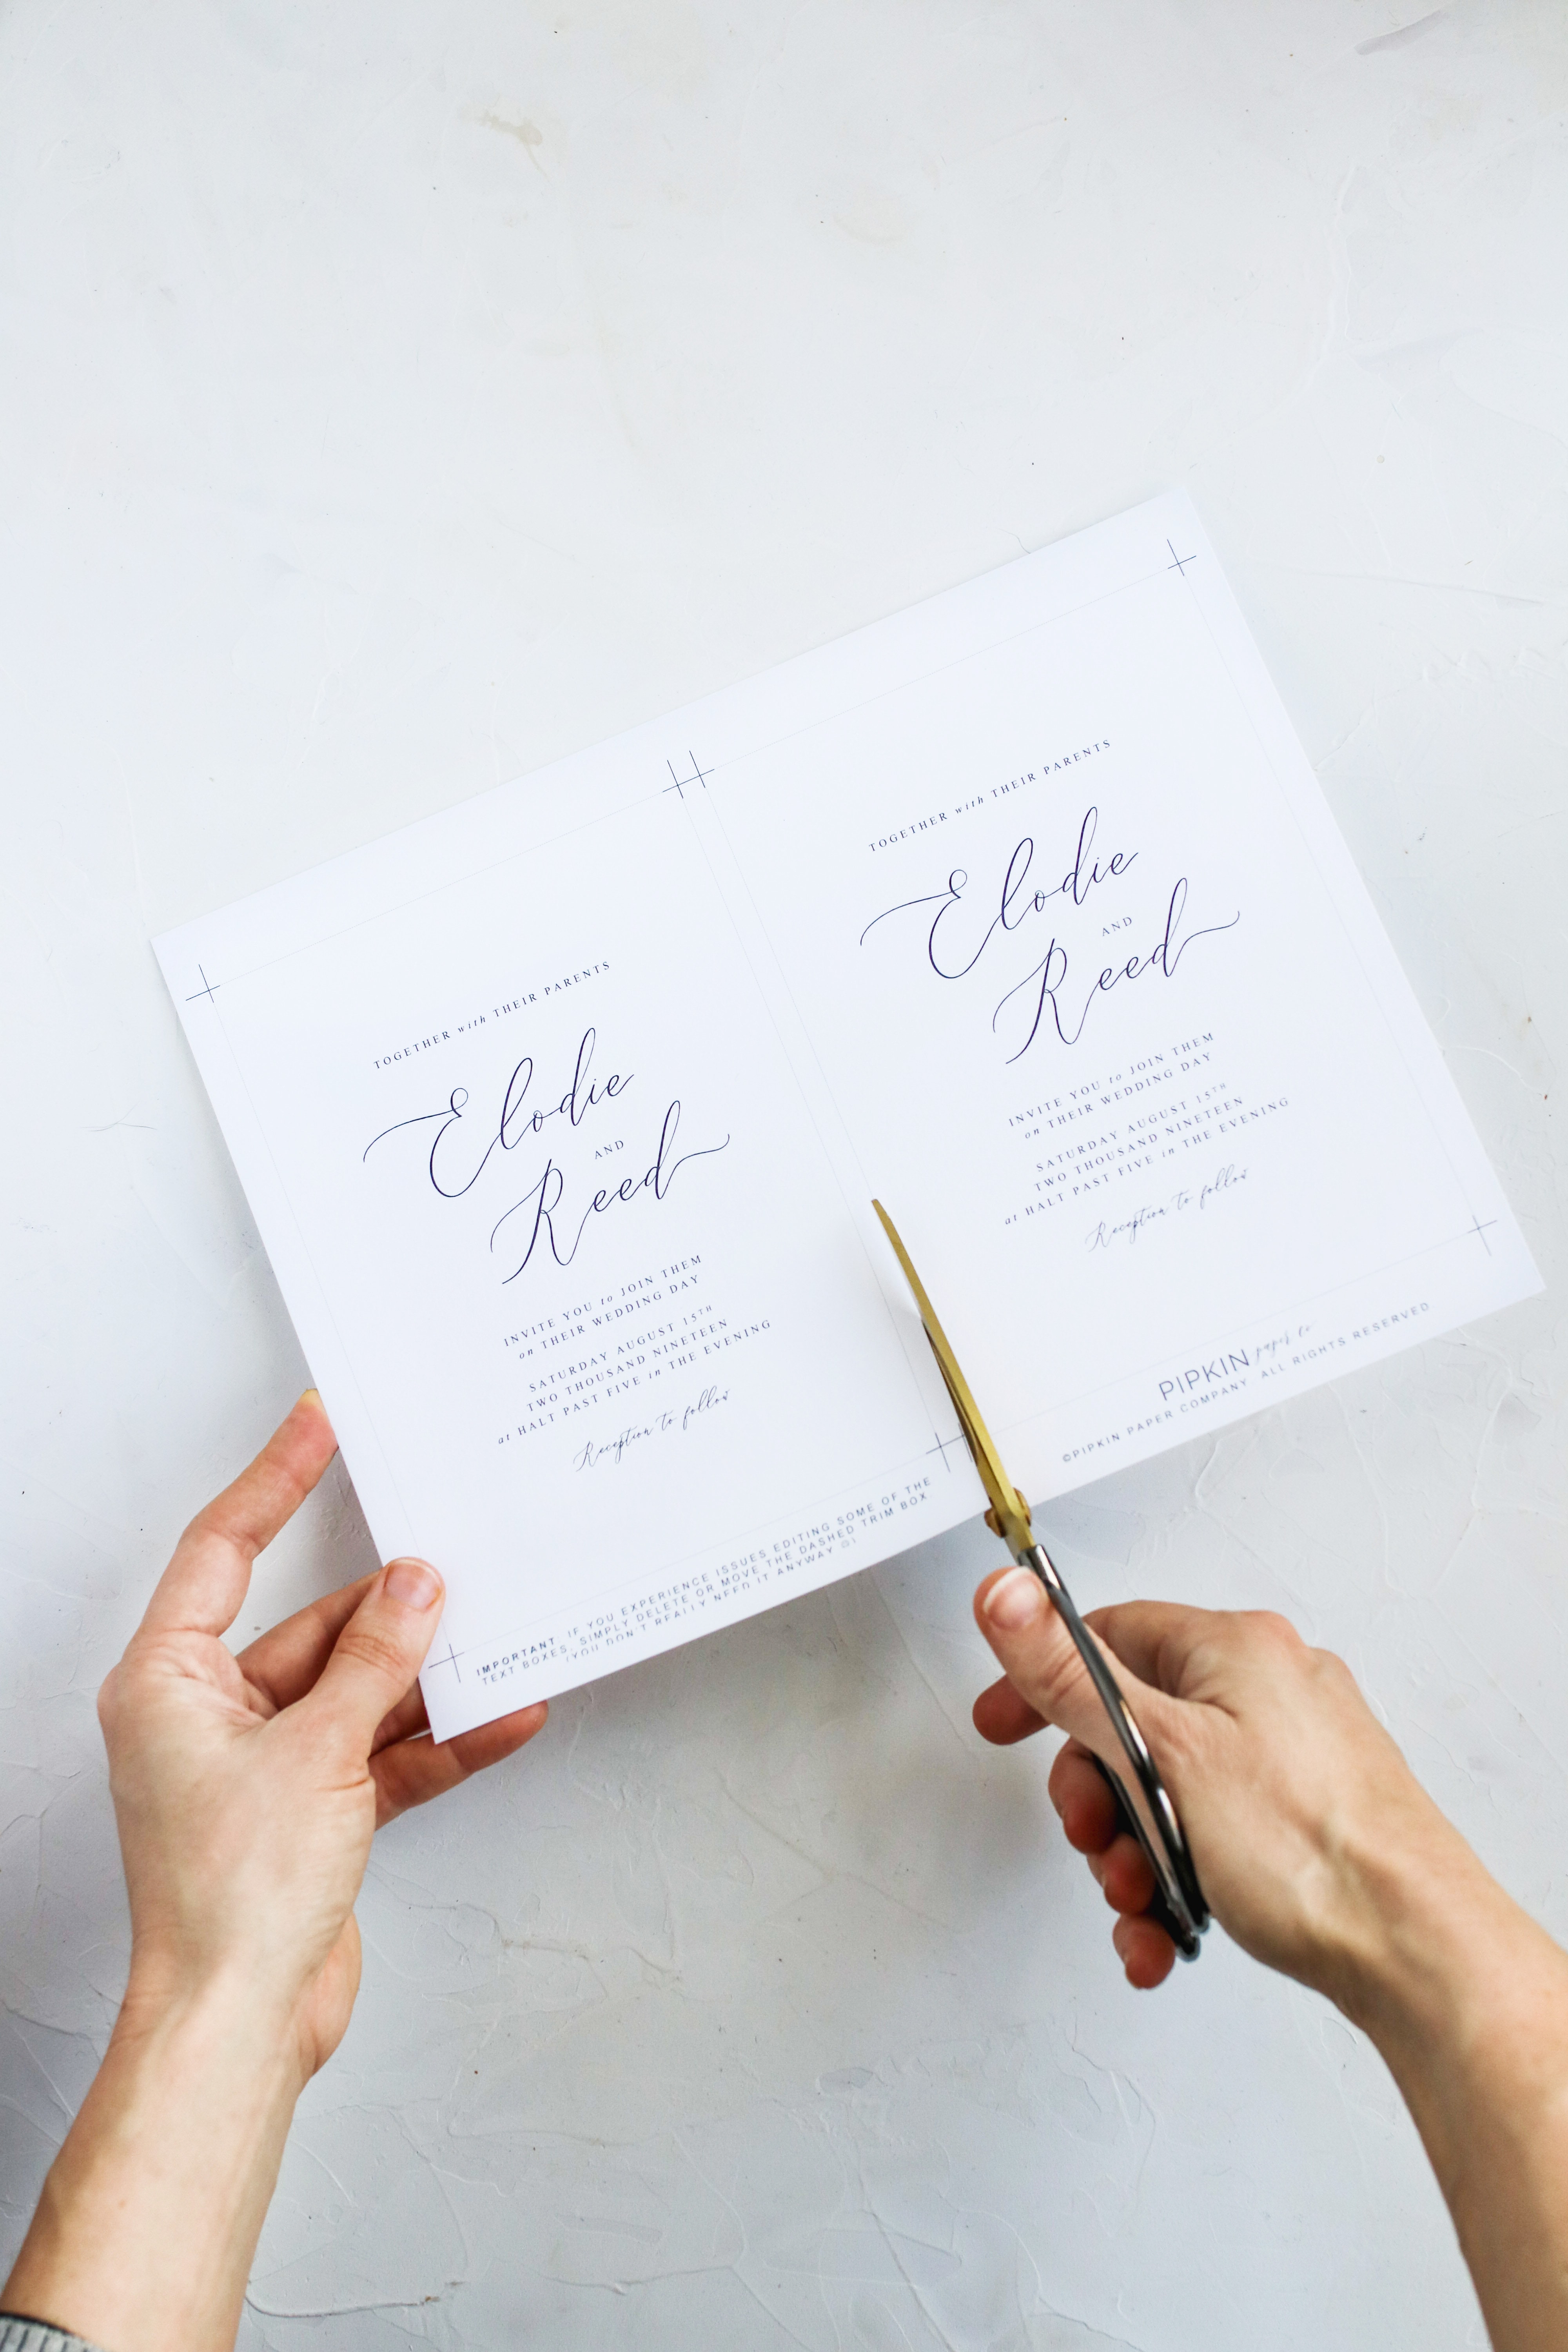
Print the template on the cardstock of your choice, then trim your invitations and inserts to size.
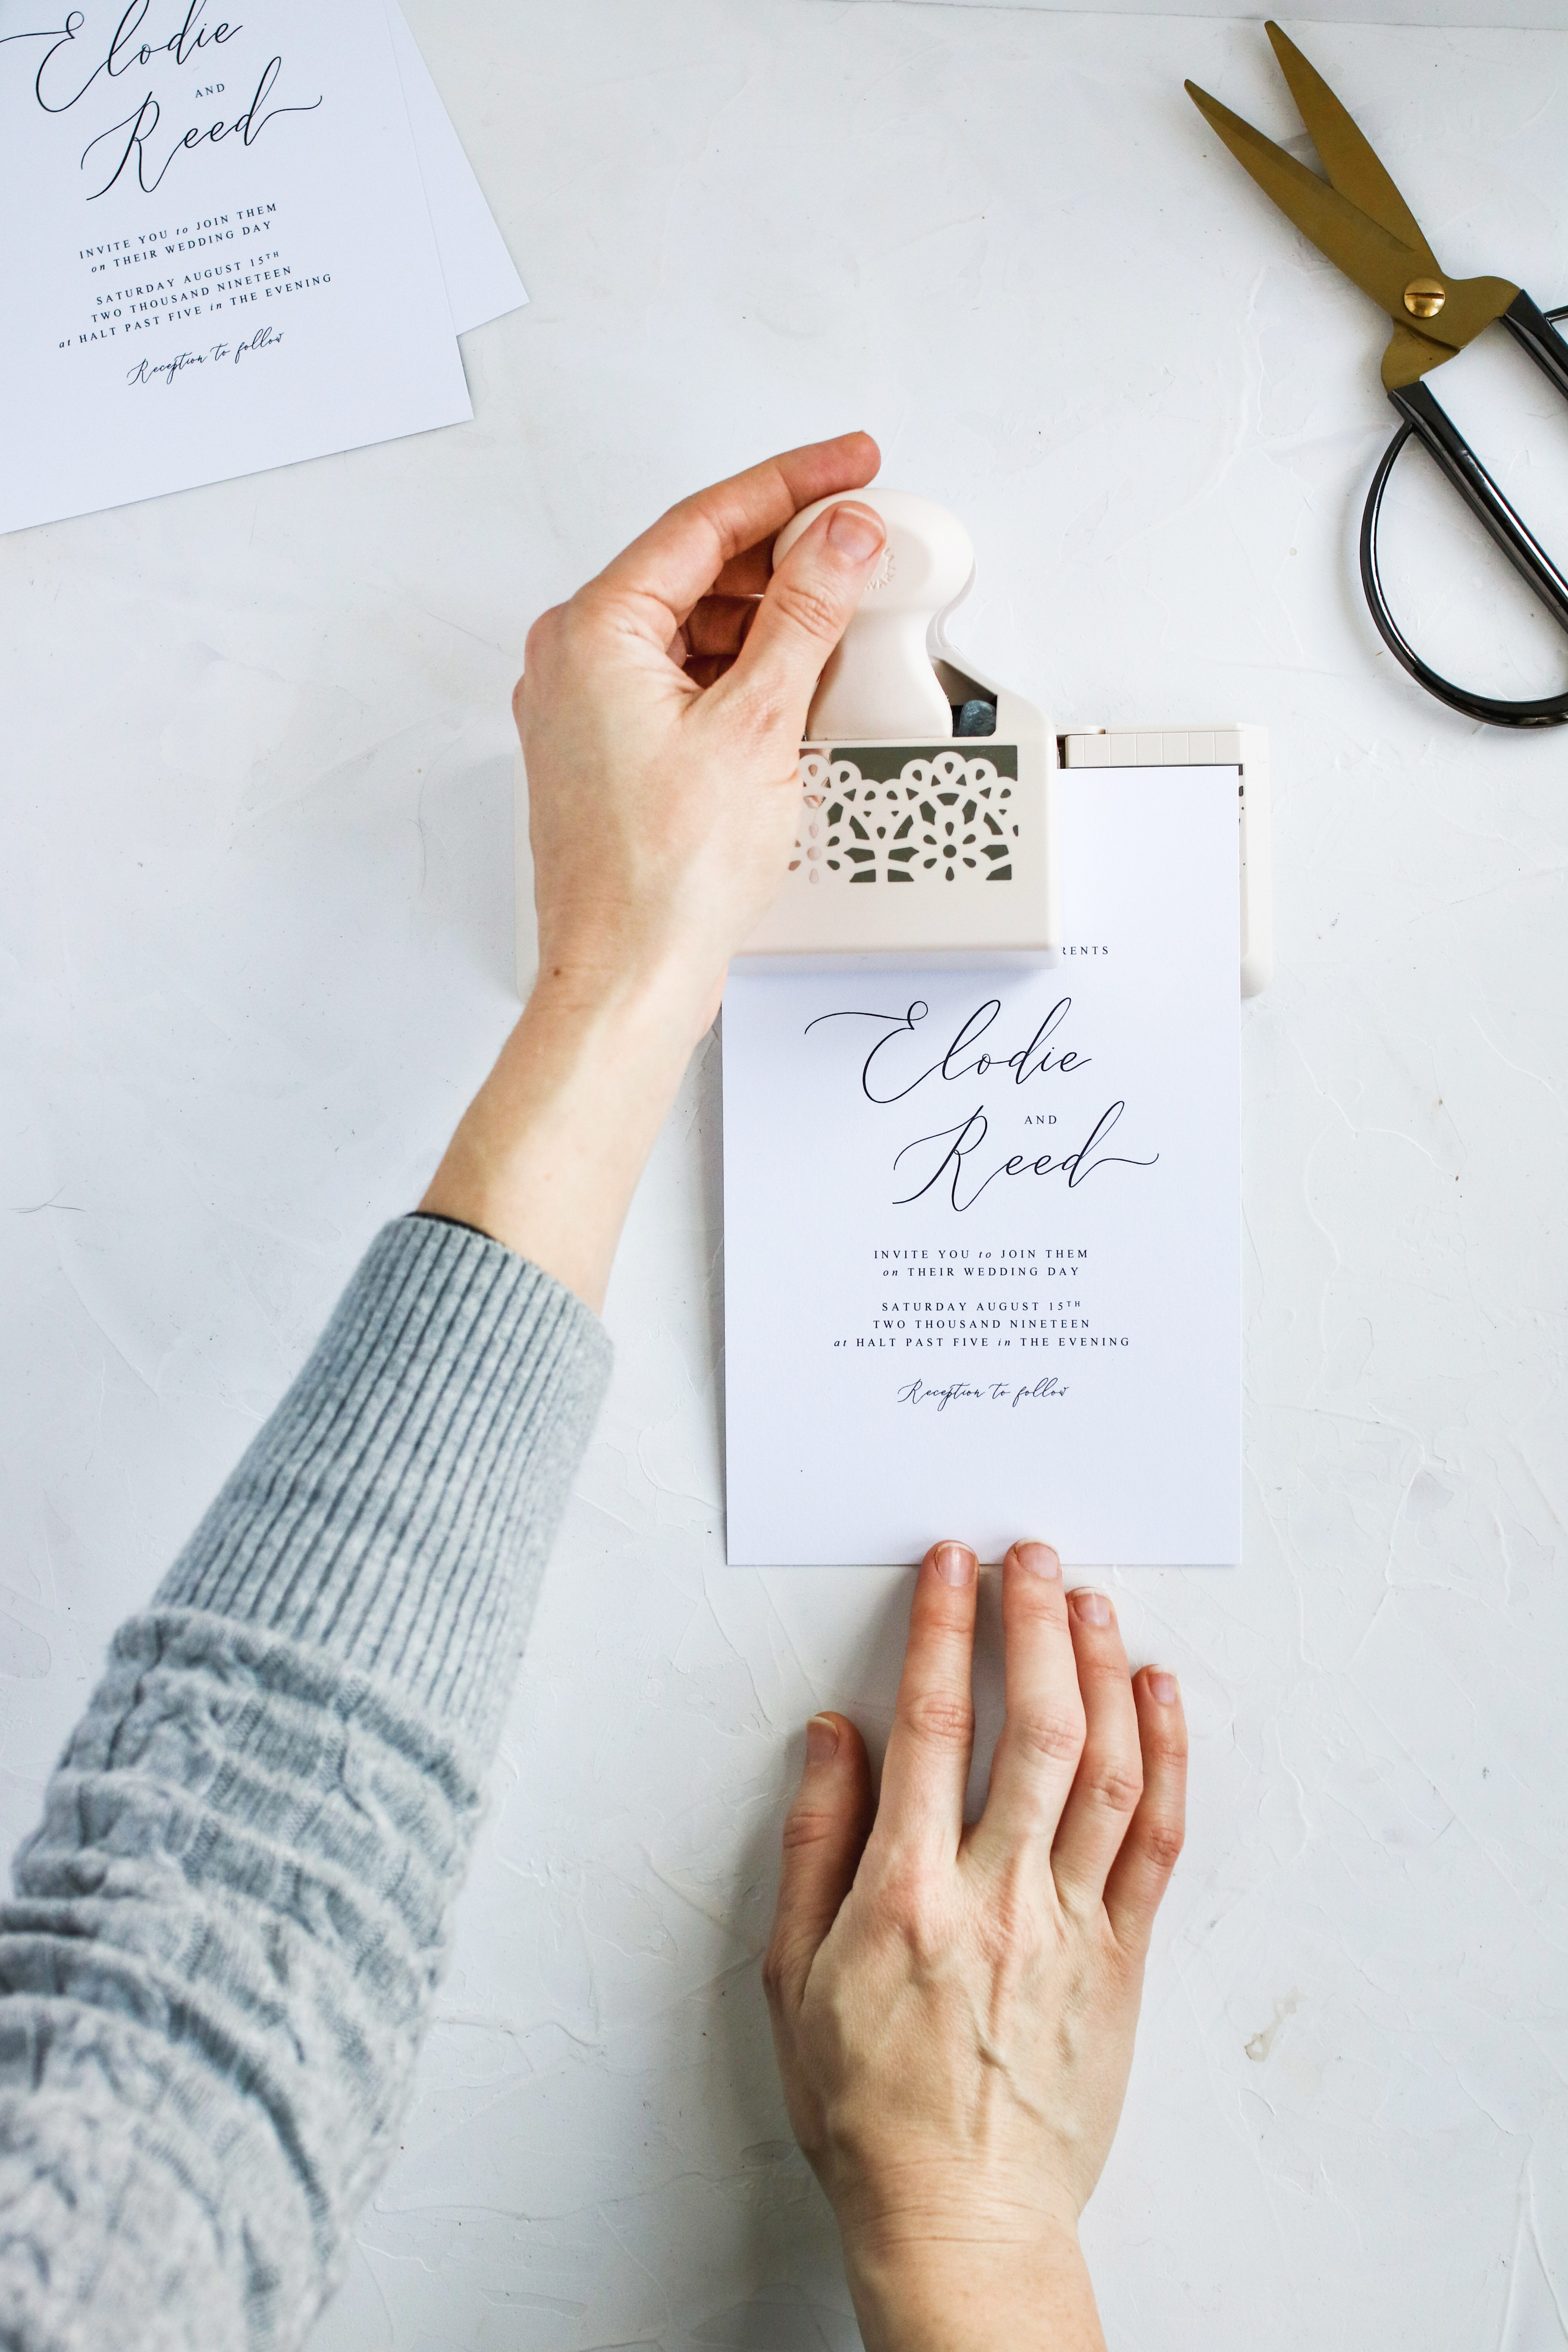
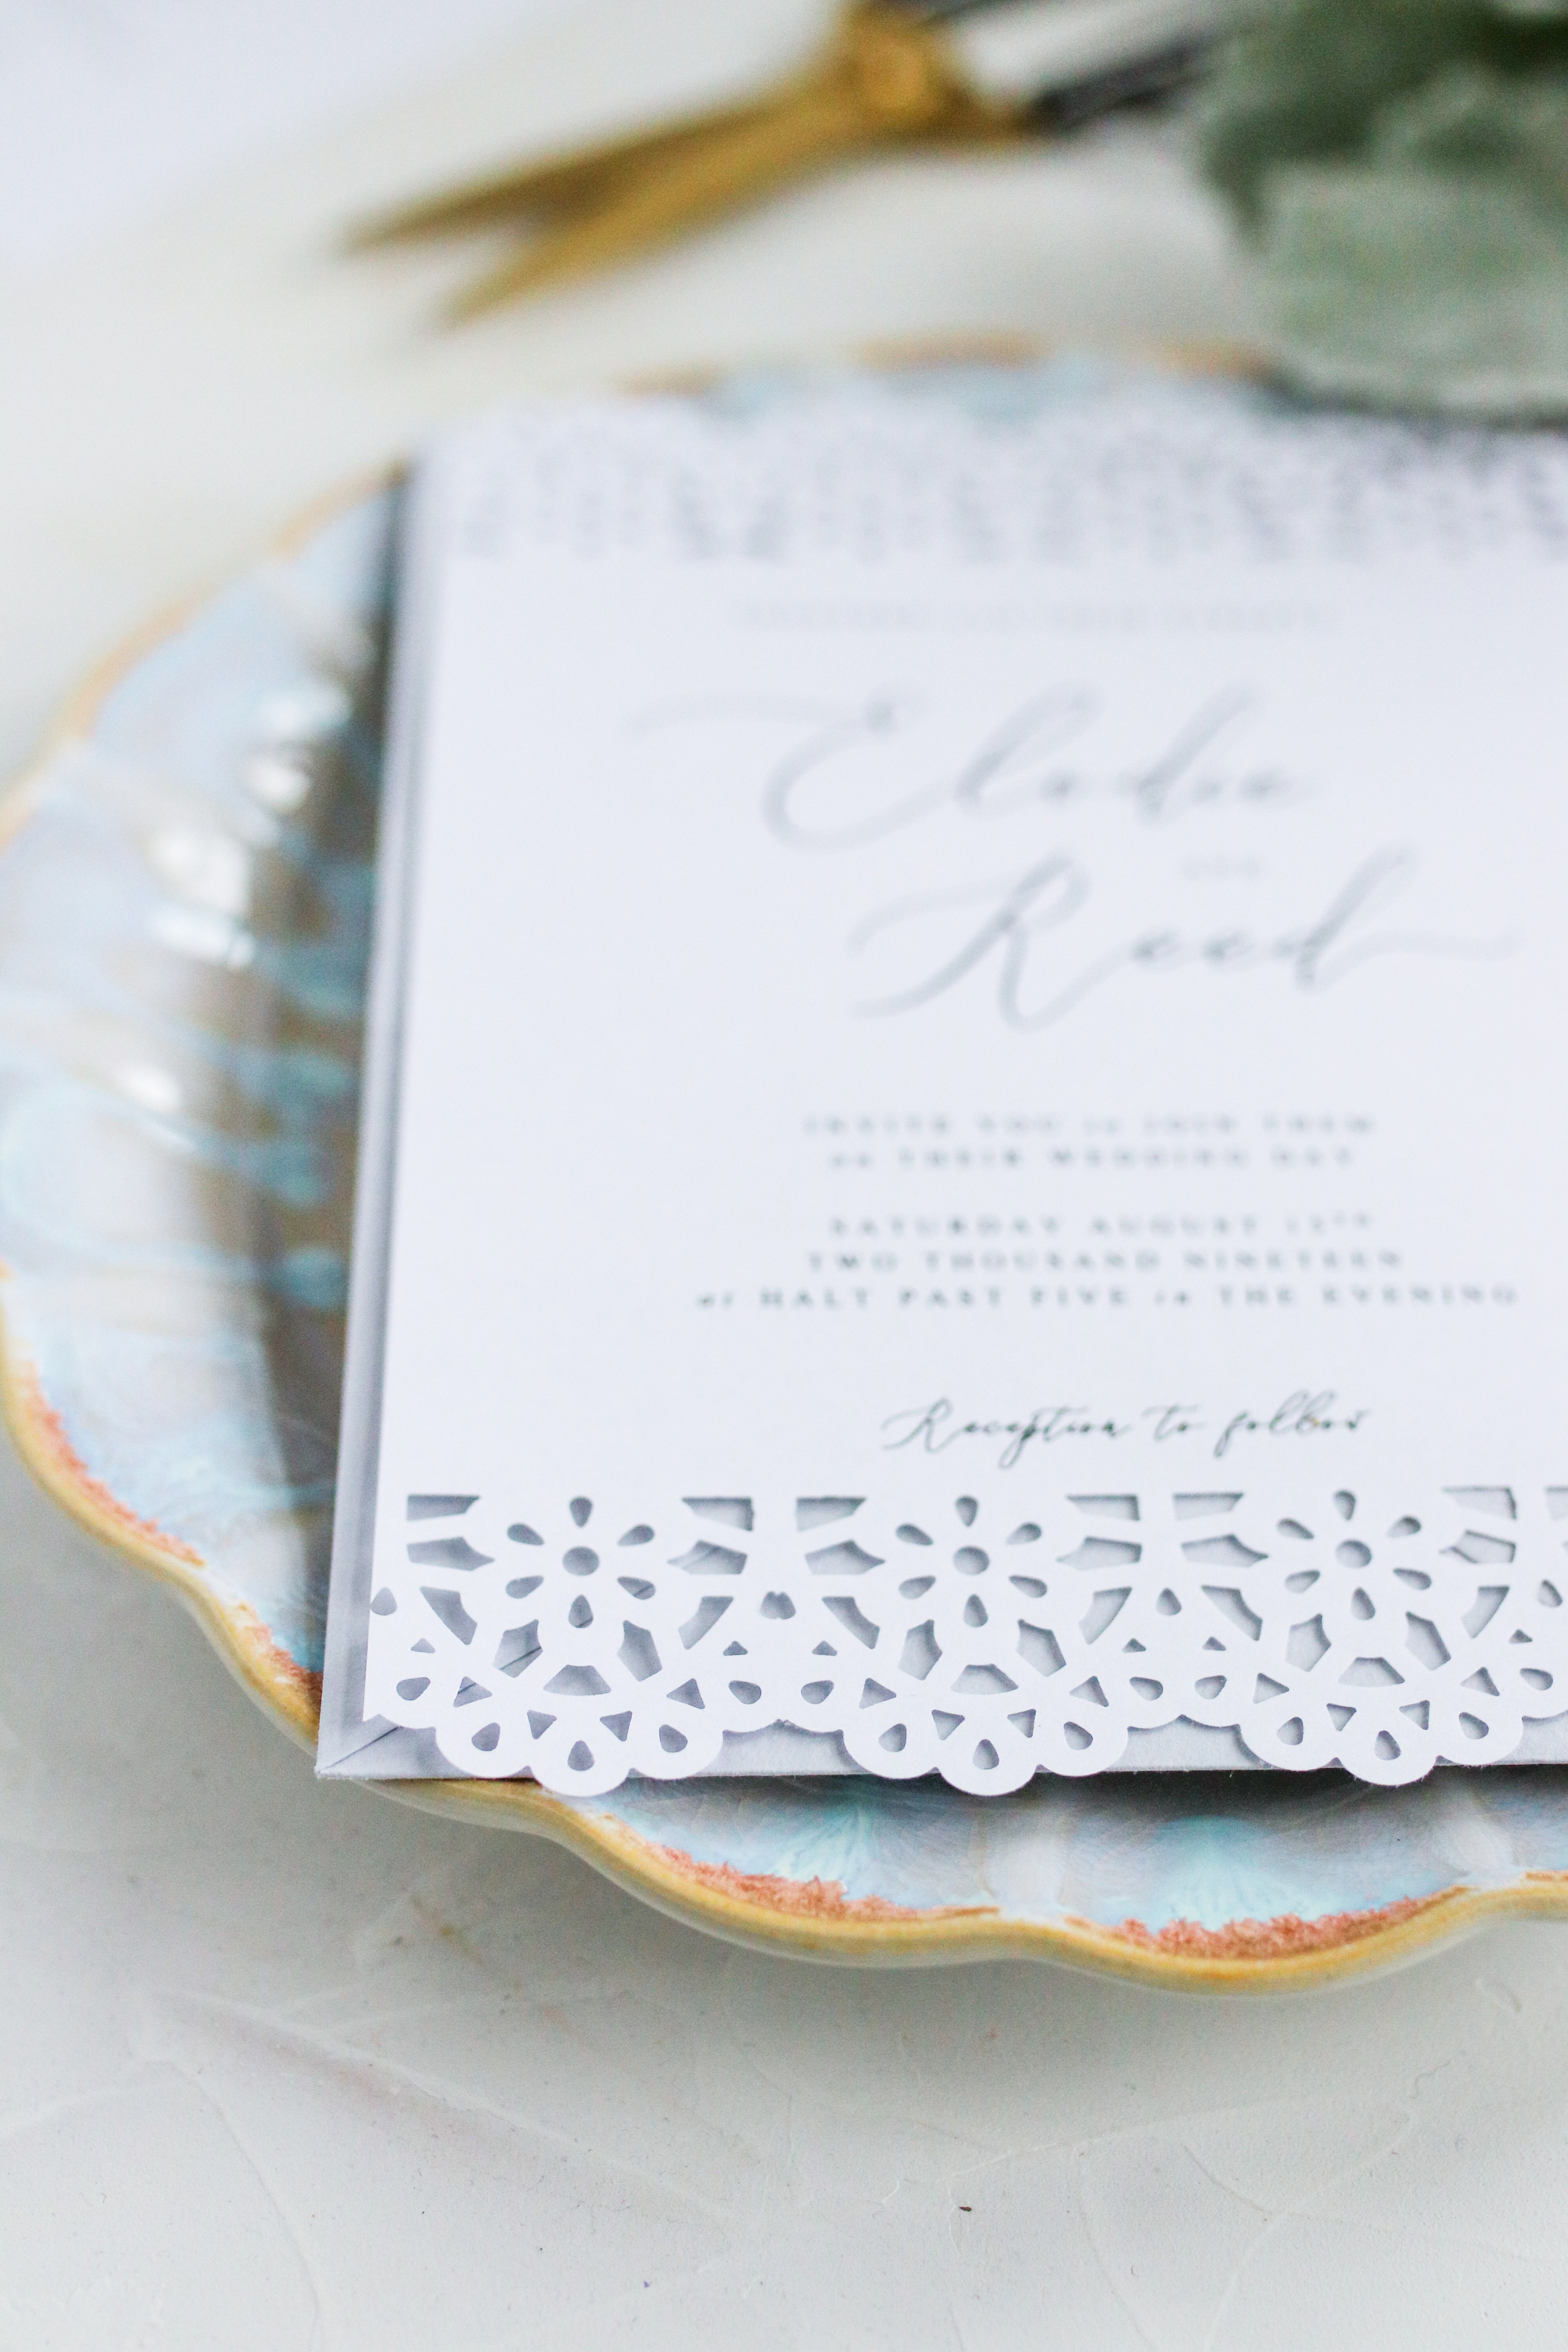
Using your edge punch, punch along the top and bottom of the invitations. You can do the same on one or both edges of your enclosure cards as well, but it’s not required.
When you’re finished, tuck everything into an A7 envelope.
The information contained on this Website and the resources available for download through this website are for educational and informational purposes only. I am only sharing what worked for me, and as such, I cannot guarantee that any products or processes will give you the same results.

Leave a Reply
We don't like getting spam either. Your email is safe with us.